Hi everyone! I feel like I have been ignoring all of my cremes lately and I do enjoy using them for nail art so much! I've been overwhelmed with new sparkly colors so the cremes get forgotten. I saw a recent
Grunge/Distressed nail look that
Dani from Dani's Manis posted and it inspired me to give this look a try. As she did, I followed the wonderful (and easy!)
tutorial from
Sarah at Chalkboard Nails. Seriously guys...nail art doesn't get much simpler than this. If you are wanting to try some nail art but are nervous about messing up, this is the nail art for you. It is impossible to mess up! One tip I have to add is if you feel like you have gone a little heavy in one spot or another with your black, just dip a small brush in acetone and then dab it on a paper towel. Then lightly go over the area you want to fix with that brush and it will take off a little color and create brushstrokes there that just add to the distressed look.
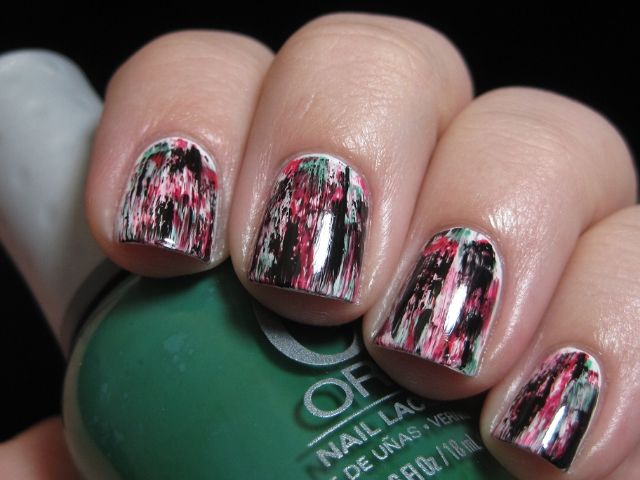
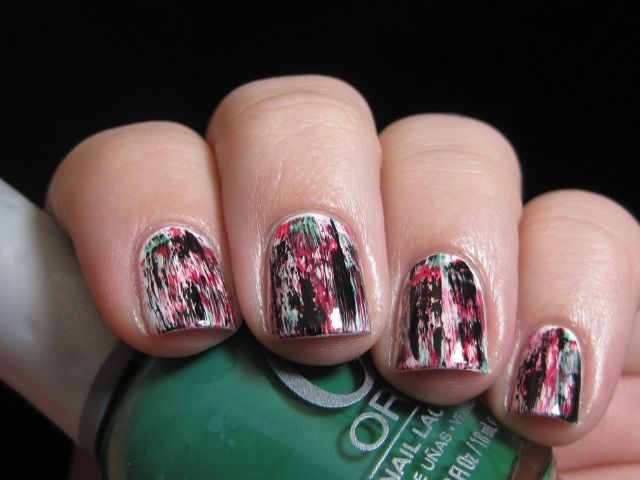
For this mani, I started off with a white base (Sinful Shine in Wisp ). I then painted on streaks of pink (OPI Sparrow Me the Drama), green (Orly Lucky Duck), and red (OPI Red Hot Ayers Rock). Be sure to wipe off your brush on the bottle very well in order to get the wispy distressed look. Finally I topped it of with streaks of black (American Apparel Hassid). It was so simple and very quick to do. I have dubbed this mani
Peppermint Grunge because the colors look like Christmas peppermints (the green ones are the best BTW...definitely not the red ones!) but...ya know...edgier.
So what do you think about the distressed look? I can't wait to try it out with different colors! Thanks for looking everyone!


No comments:
Post a Comment