*Some Press Samples Used*
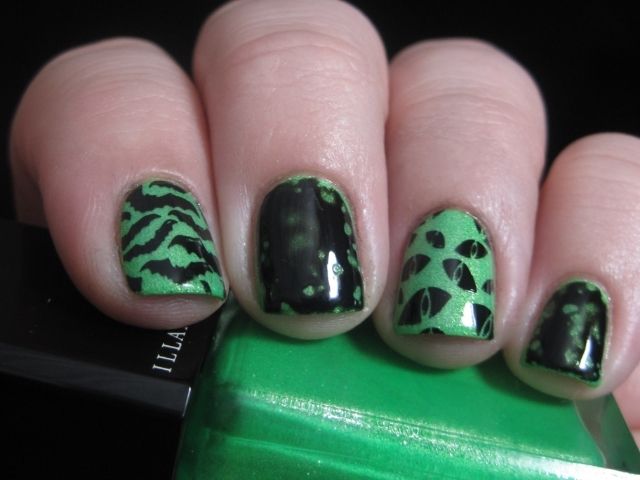
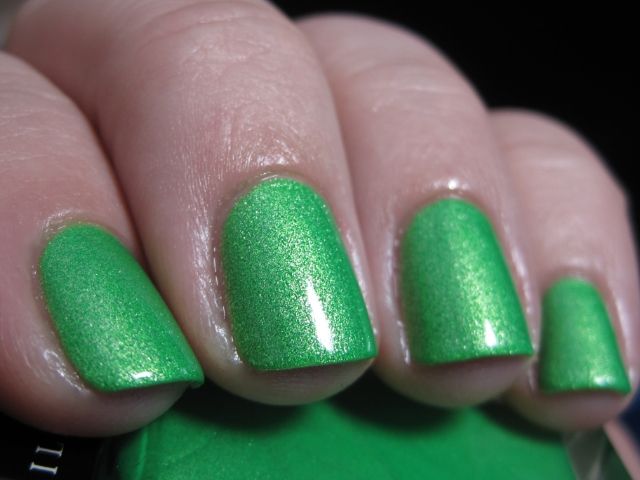
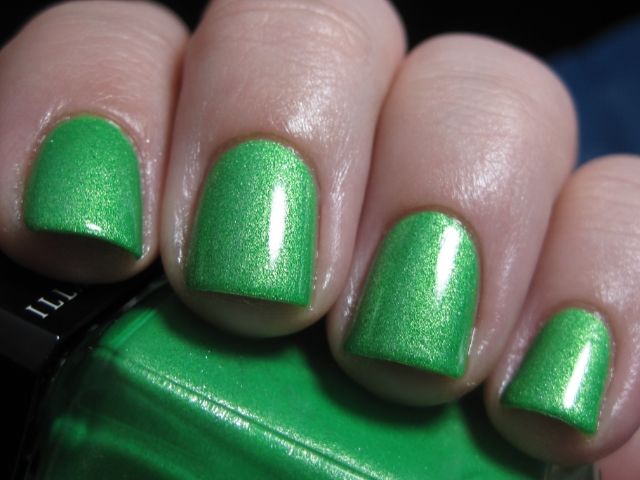
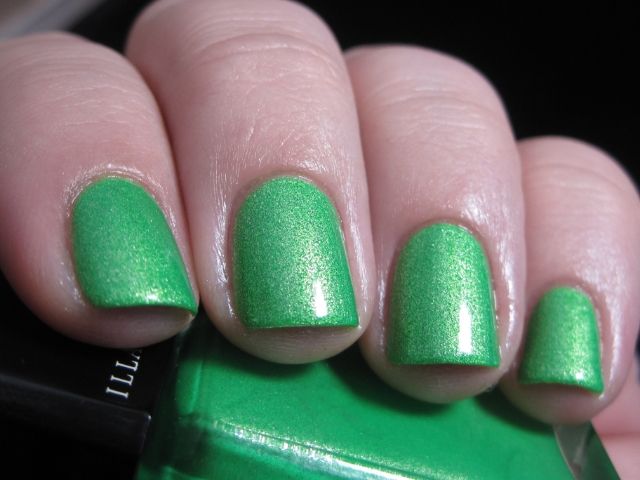
Hi everyone! I'm a bit late to the party today, but I couldn't miss out on the link-up with my lovely friends from Paint All the Nails! I've already done two neon looks for our link-ups this year so far, but this time Neon was the theme!
Showing posts with label Illamasqua. Show all posts
Thursday, July 28, 2016
Sunday, February 8, 2015
Illamasqua Melange and Born Pretty Store Feather Water Decals
*Purchased by Me*
Hi everyone! Today I have a lemming that I was very fortunate to fulfill to show you. Since Illamasqua stopped being stocked in the US, it has become increasingly difficult to get your hands on them, especially their new releases! Illamasqua Melange was released in 2014 and I wanted it from the moment I saw it. There aren't many high-end brands that I will shell out the bucks for anymore, but Illamasqua is one of the rare exceptions because they make extremely beautiful and high quality polishes and I adore their formula. Thanks again to my dear friend who was able to get it to the US for me! <3
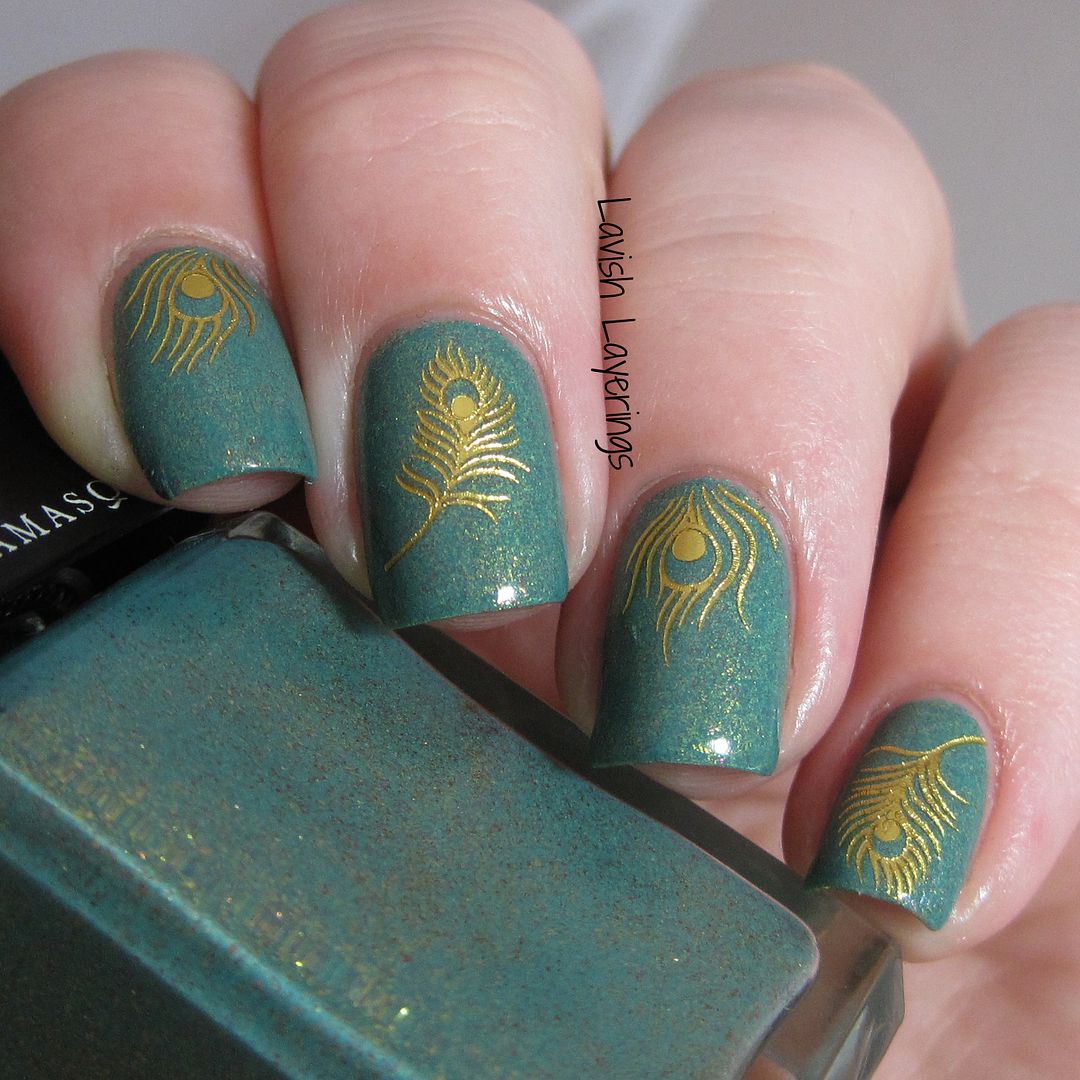
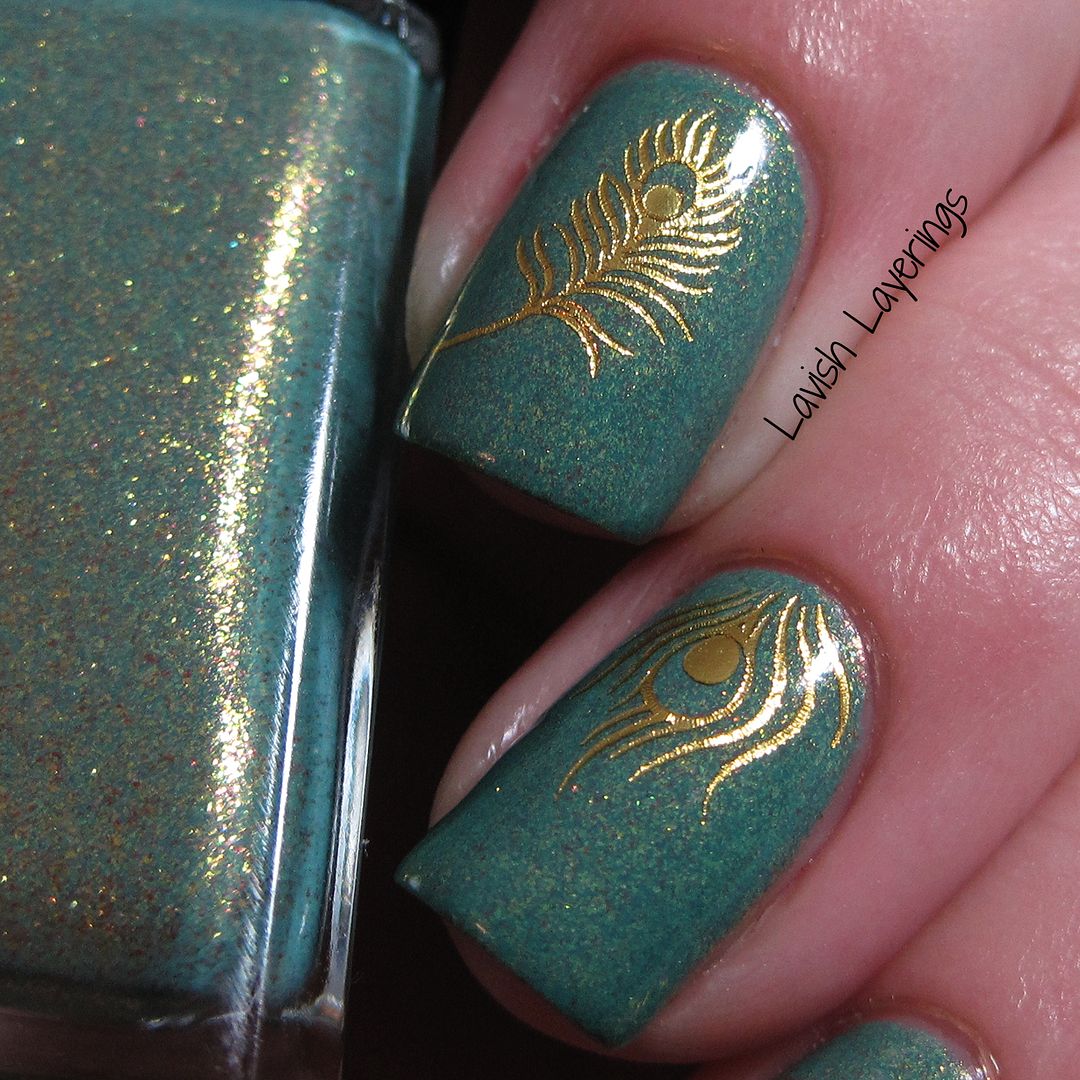
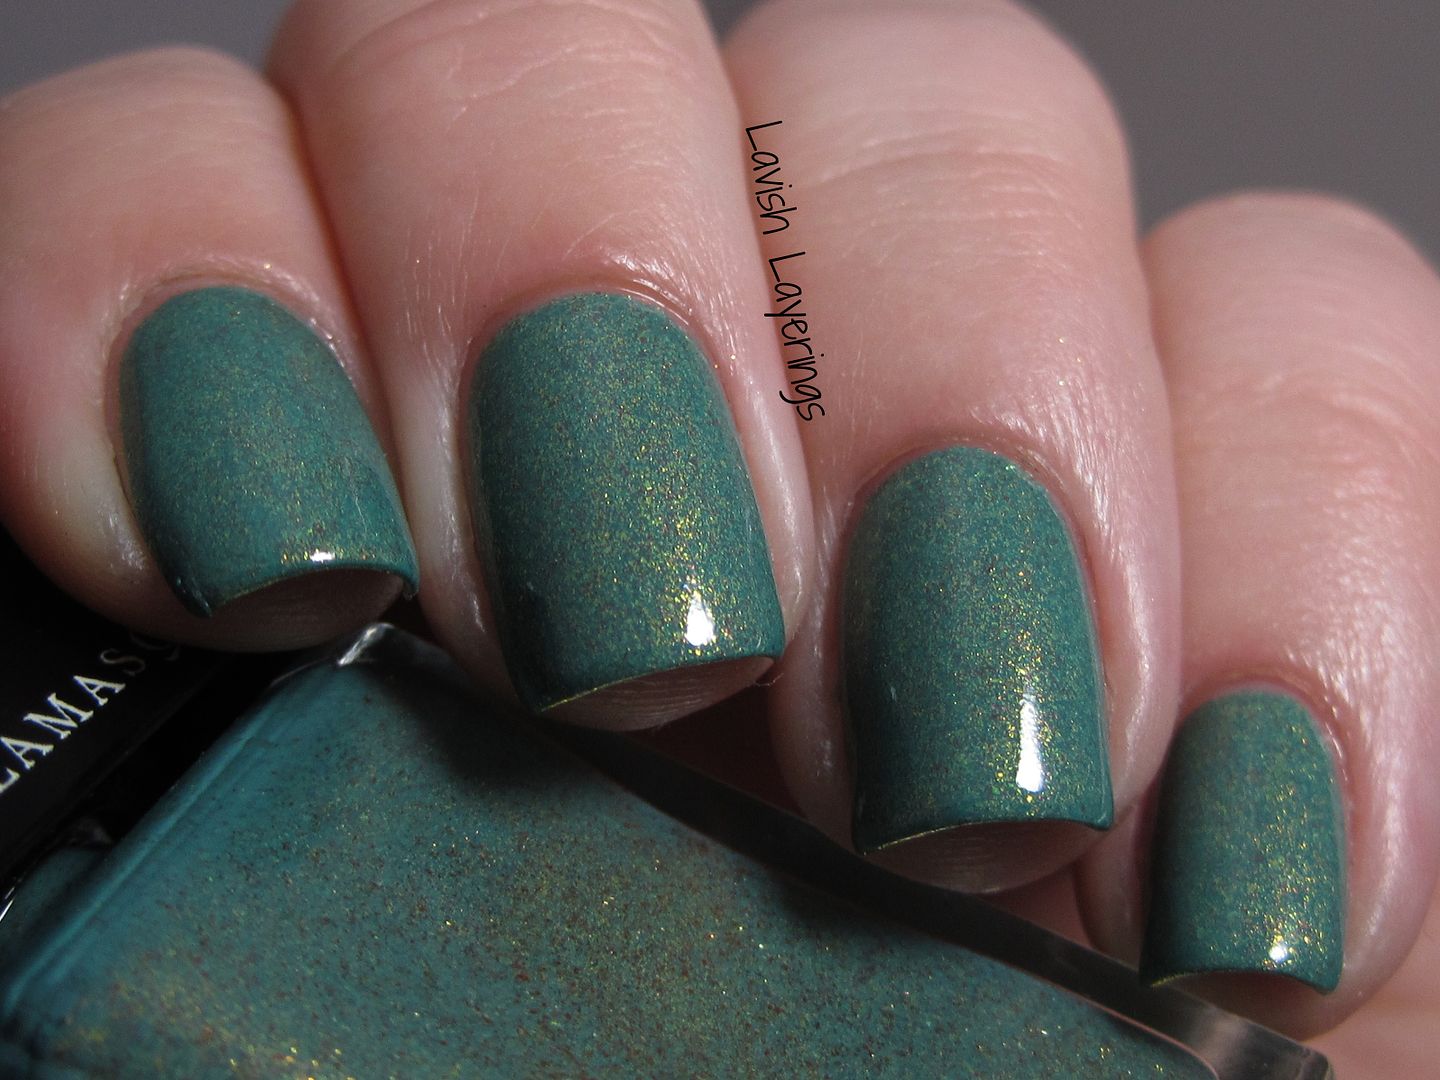
For this mani, I started off with a base of Illamasqua Melange and then added some gold foil peacock feather water decals from Born Pretty Store (item C045). I found that these decals were a little bit stiffer than some that I've worked with in the past, but still not problematic, I just smoothed them down to the curve of my nail with my finger really well and they behaved beautifully. I really like having some water decals in my stash that are cute designs in plain colors like gold, silver, black, and white that will look great over a variety of base colors so you can easily jazz up any mani without having to worry about color-matching. I think these would look great over pretty much any base color for a full mani or for an accent.
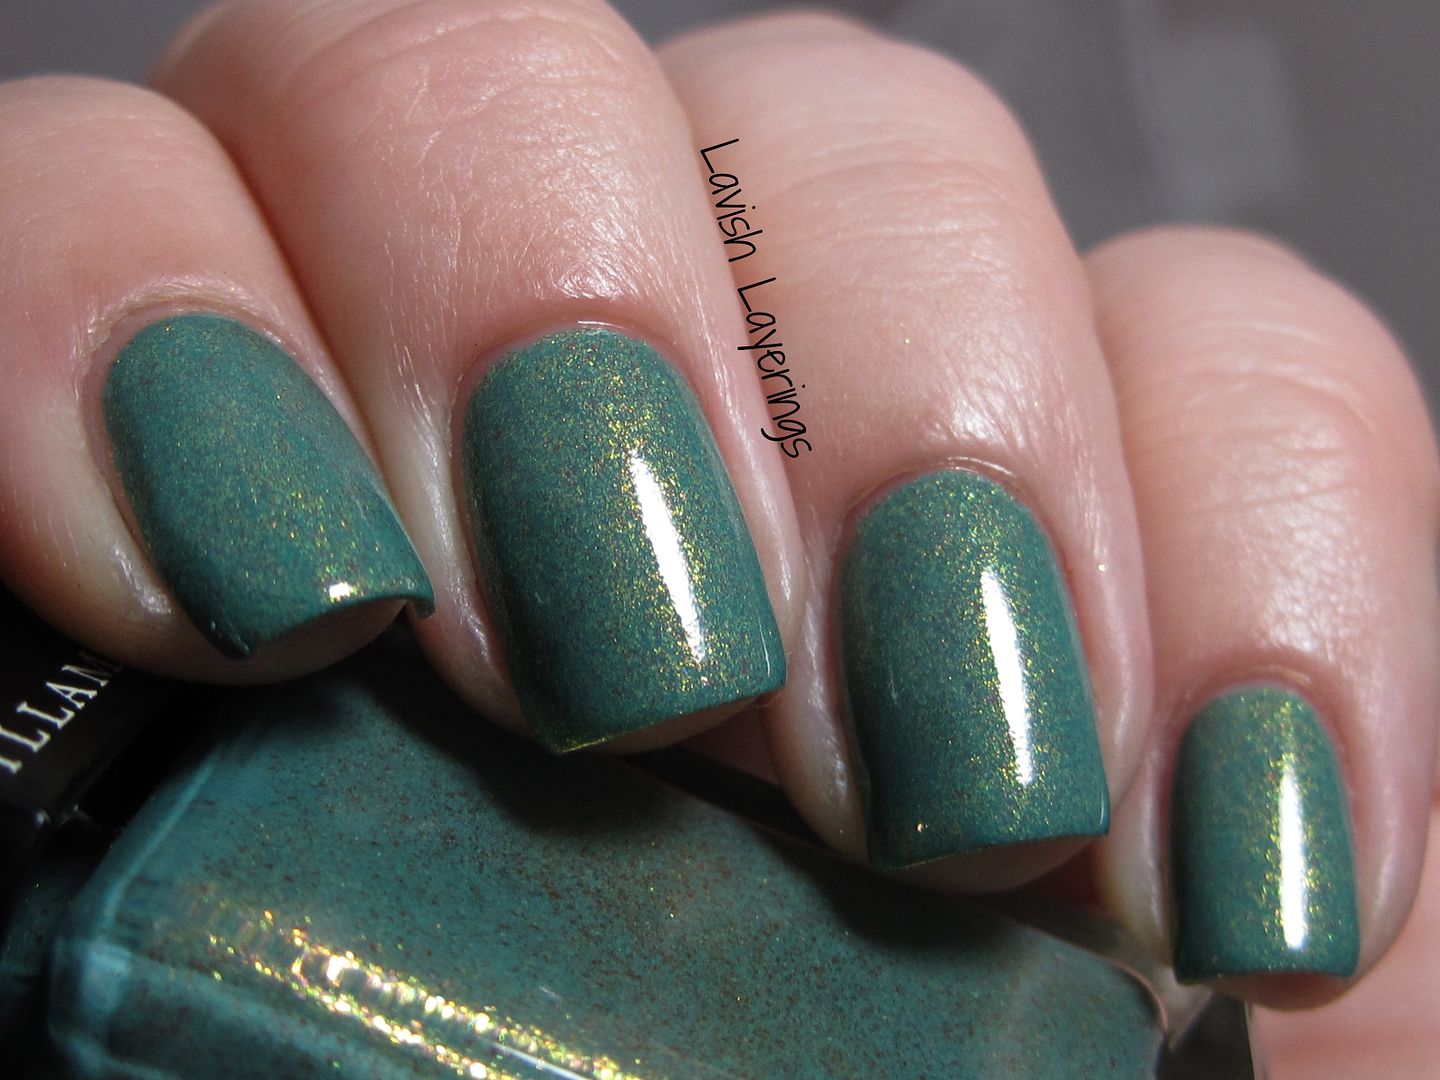
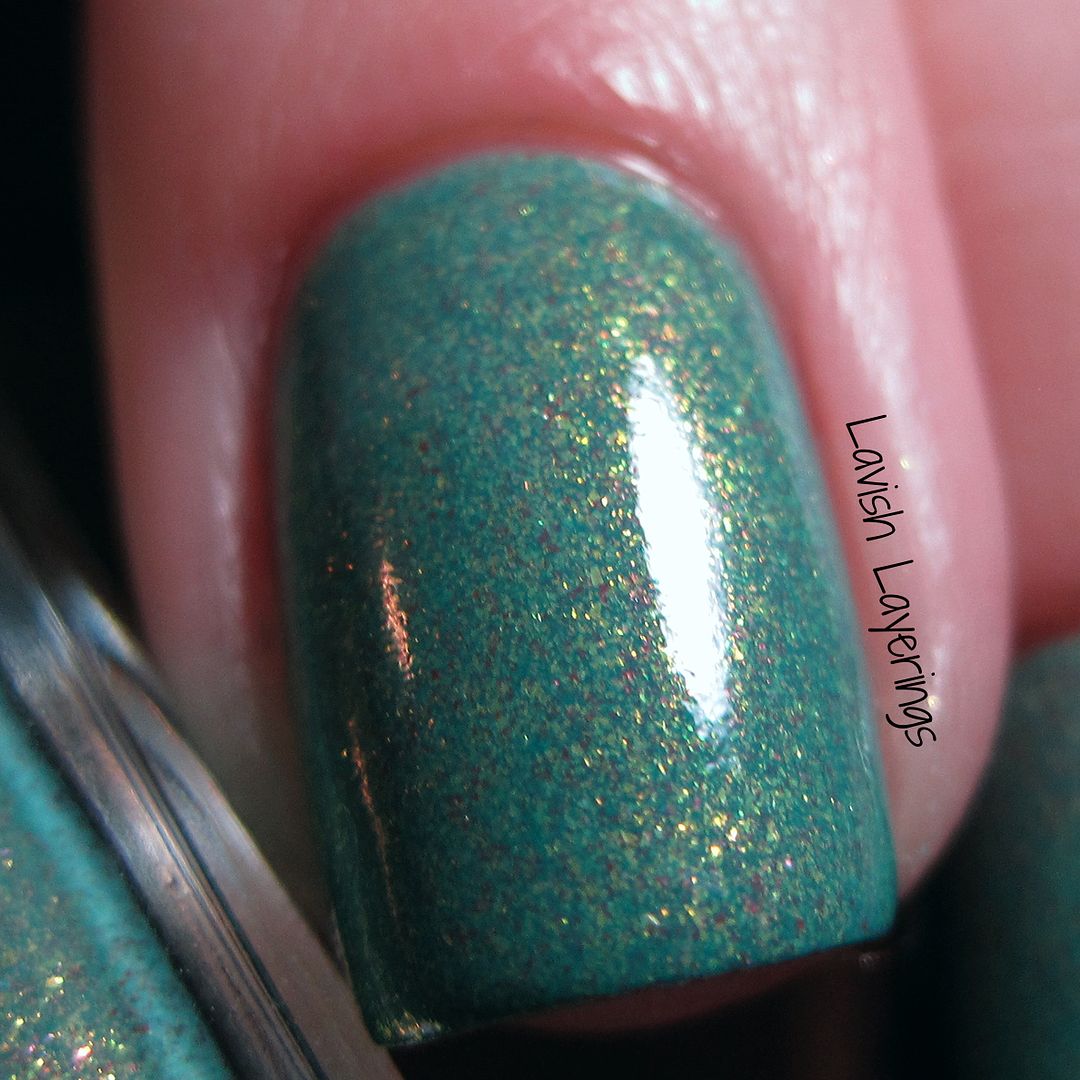
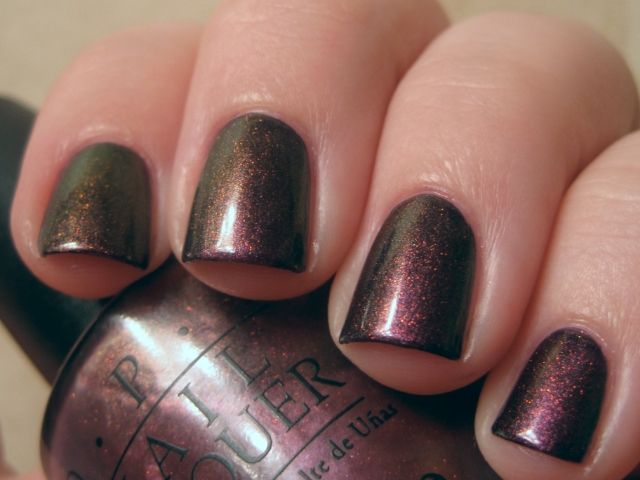
Let's get a look at Melange on its own. Gah, it's so fabulous! My camera wasn't doing so hot this night at picking up all of the detail in the base, but it has a dusty green base with heavy gold and red shimmer flecks. Formula is a breeze in true Illamasqua style and this is 2 easy coats. So much love for this polish!
As I said, Illamasqua does not have any US-based stockists anymore (and I've heard ordering direct from them is now EXTREMELY expensive), so tracking this one down is not an easy task. If you have the opportunity to get it though...DO IT!
Be sure to check out Born Pretty Store for all of your nail art supply needs (you can use my coupon code JCX31 for 10% off your order). I've always had great experiences with ordering from them at very reasonable prices. Also, you can't beat free worldwide shipping! You can also follow Born Pretty Store on Facebook and Instagram.
Hi everyone! Today I have a lemming that I was very fortunate to fulfill to show you. Since Illamasqua stopped being stocked in the US, it has become increasingly difficult to get your hands on them, especially their new releases! Illamasqua Melange was released in 2014 and I wanted it from the moment I saw it. There aren't many high-end brands that I will shell out the bucks for anymore, but Illamasqua is one of the rare exceptions because they make extremely beautiful and high quality polishes and I adore their formula. Thanks again to my dear friend who was able to get it to the US for me! <3
For this mani, I started off with a base of Illamasqua Melange and then added some gold foil peacock feather water decals from Born Pretty Store (item C045). I found that these decals were a little bit stiffer than some that I've worked with in the past, but still not problematic, I just smoothed them down to the curve of my nail with my finger really well and they behaved beautifully. I really like having some water decals in my stash that are cute designs in plain colors like gold, silver, black, and white that will look great over a variety of base colors so you can easily jazz up any mani without having to worry about color-matching. I think these would look great over pretty much any base color for a full mani or for an accent.
Let's get a look at Melange on its own. Gah, it's so fabulous! My camera wasn't doing so hot this night at picking up all of the detail in the base, but it has a dusty green base with heavy gold and red shimmer flecks. Formula is a breeze in true Illamasqua style and this is 2 easy coats. So much love for this polish!
As I said, Illamasqua does not have any US-based stockists anymore (and I've heard ordering direct from them is now EXTREMELY expensive), so tracking this one down is not an easy task. If you have the opportunity to get it though...DO IT!
Be sure to check out Born Pretty Store for all of your nail art supply needs (you can use my coupon code JCX31 for 10% off your order). I've always had great experiences with ordering from them at very reasonable prices. Also, you can't beat free worldwide shipping! You can also follow Born Pretty Store on Facebook and Instagram.
Thursday, January 15, 2015
Thyroid Disease Awareness Mani
*Nothing to Disclose*
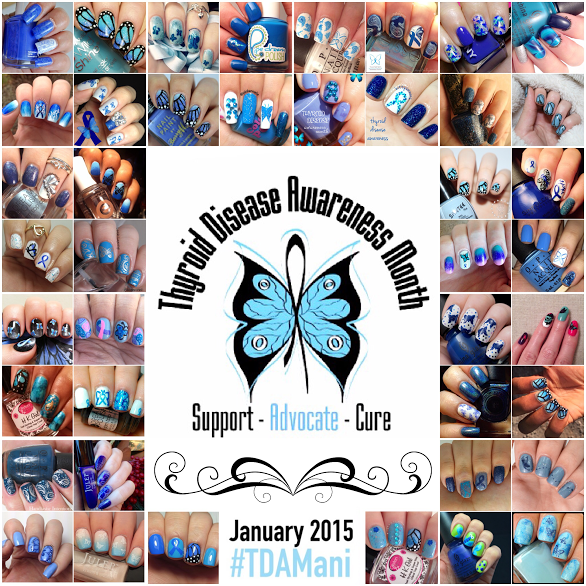
Hi everyone! Today I have a special event to share with for you! @citruseyes on Instagram recently organized a group of nail artists to bring awareness to a topic that is very near and dear to her heart: Thyroid Disease. We were each tasked to create a mani this January for Thyroid Disease Awareness Month to share on Instagram. During the month of January, you can participate on Instagram by creating your very own mani!
Here are some instructions from @citruseyes for participating in the event on Instagram during the month of January:
Here is some more information from @citruseyes about Thyroid Disease to increase our knowledge:
So, if any of you want to participate this month to help raise awareness for Thyroid Disease, please use #TDAMani on Instagram so everyone can see your work! Thanks again to @citruseyes for asking me to participate in this event! Thanks for looking everyone!
Hi everyone! Today I have a special event to share with for you! @citruseyes on Instagram recently organized a group of nail artists to bring awareness to a topic that is very near and dear to her heart: Thyroid Disease. We were each tasked to create a mani this January for Thyroid Disease Awareness Month to share on Instagram. During the month of January, you can participate on Instagram by creating your very own mani!
Here are some instructions from @citruseyes for participating in the event on Instagram during the month of January:
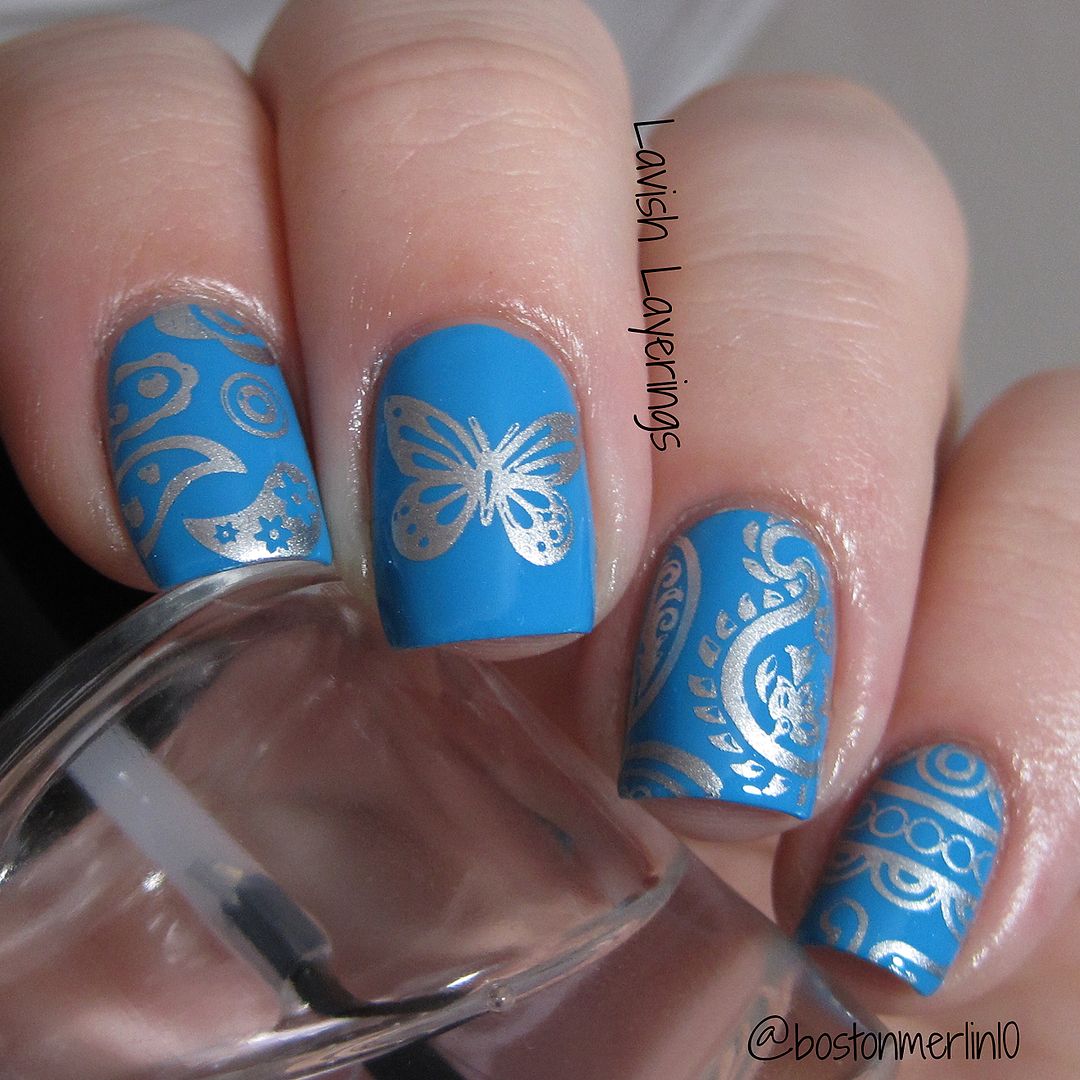
To share your thyroid disease awareness mani or to see the beautiful works above up close, use the hashtag #TDAMani - Symbols for thyroid disease awareness are: blue, paisley design, and the butterfly.
Nails above include works from:
@fervnails @nailsbymercedes@miaonoirnails @krbnails @nailkazam @nails_by_xoch @vickylovesnails @pinkannelie @isaisis97@_nailsbymeg @tinseltownnails @amina2inspire @nanazcheekz @bittysweens @pinkyboonails@polishisthenewblack @journailism @mvargas_nails @procrastinailart @nailingthatpolish@thegirlyengineer @hashtagnailpolish @astoldbyannalisa @caribbeancuticles @ilysespieces@prestonails @mypolishedtips13 @littlepandapit @clairelofthouse @thepolishedphd @marshinis.nails@bostonmerlin10 @handtasticintentions @xiii_lacquer @emismanis @courtneydoeshernails@cmlovesnails @npadd1 @anonymouspolish @pikapolish @b_jessica_3 @citruseyes
Here is some more information from @citruseyes about Thyroid Disease to increase our knowledge:
For my mani, I started with a base of Illamasqua Noble (my all-time favorite blue creme). Then, using the symbols for Thyroid Disease Awareness, I added a butterfly on my middle finger (unnamed plate) and paisley patterns on my other fingers (MoYou-London Fashionista plate 11...which is a STUNNING plate). The silver I used to stamp was China Glaze Millennium. Overall, I was really pleased with how cohesive this skittle mani looked! That Mo-You plate has so many pretty paisley designs that it was hard to choose!January is thyroid disease awareness month and several nail artists have collaborated in order to spread awareness. The thyroid is the butterfly shaped gland located in the neck that is responsible for releasing hormones that regulate growth and metabolism. Some examples of thyroid diseases include: Hashimoto's thyroiditis, Graves' disease, thyroid cancer, and postpartum thyroiditis (but there are more); thyroid conditions related to these disease are hypothyroidism or hyperthyroidism.There are no cures for most thyroid diseases but there are various treatments available such as surgery, medication, hormone replacement, and lifestyle modifications. Often times, patients may not “look” physically sick but are still in pain and suffer regularly. For more information on some of these diseases, please continue reading onto the next caption.Hypothyroidism is a condition when thyroid hormone levels are low and can be caused by the autoimmune disease Hashimoto’s thyroiditis, radiation therapy, or thyroid removal due to cancer or hyperthyroidism. Symptoms may include: fatigue, lethargy, puffy face, constipation, weight gain despite poor appetite, cold insensitivity, dry skin, slower heartbeat, and more. It can lead to a fatal condition known as myxedema coma if hypothyroidism is not treated and becomes long standing. Babies born with congenital hypothyroidism risk mental retardation and growth delays.Hyperthyroidism is the opposite: it is when thyroid hormone levels are high. It is oftentimes caused by the autoimmune disorder Graves' disease but can also result from toxic multinodular goiter or thyroid adenoma. Symptoms may include: anxiety, increased irritability, diarrhea, weight loss despite increased appetite, heat insensitivity, hand tremors, insomnia, rapid heartbeat, and more. It can lead to a fatal condition known as thyroid storm if hyperthyroidism is not treated properly. Thyroid storm can lead to heart failure, irregular heartbeats, and death.Thyroid cancer, like other forms of cancer, needs to be detected early in order for early treatments to increase the chances of survival and decrease the chances of complications. Symptoms may include: a swollen throat, pain, difficulties swallowing, hoarse voice, and feeling a lump present on the throat.Some thyroid issues can also occur post pregnancy. Postpartum thyroiditis is when the thyroid becomes inflamed after childbirth. Symptoms can either be hypothyroid-related or hyperthyroid-related symptoms. In mild cases, treatment may not be necessary, but in some cases, patients can develop chronic hypothyroidism.
So, if any of you want to participate this month to help raise awareness for Thyroid Disease, please use #TDAMani on Instagram so everyone can see your work! Thanks again to @citruseyes for asking me to participate in this event! Thanks for looking everyone!
Sunday, October 26, 2014
Hobby Polish Bloggers October Halloween Mani Link-Up
*Nothing to Disclose*
Hi everyone! Today I taking part in the first Hobby Polish Bloggers Monthly Mani Link-Up and this month's theme is Halloween! Hobby Polish Bloggers is a Facebook group that I'm involved in whose members are nail bloggers that blog for fun. It is a great group of gals that share blogging tips, discussions, and generally support for our fellow bloggers. This is a new monthly link-up that we are doing, so be sure to check out what all of the other ladies have done for their Halloween manis in the link-up at the end of this post. And if you are on Instagram, you can see their work under #HPBHalloween.
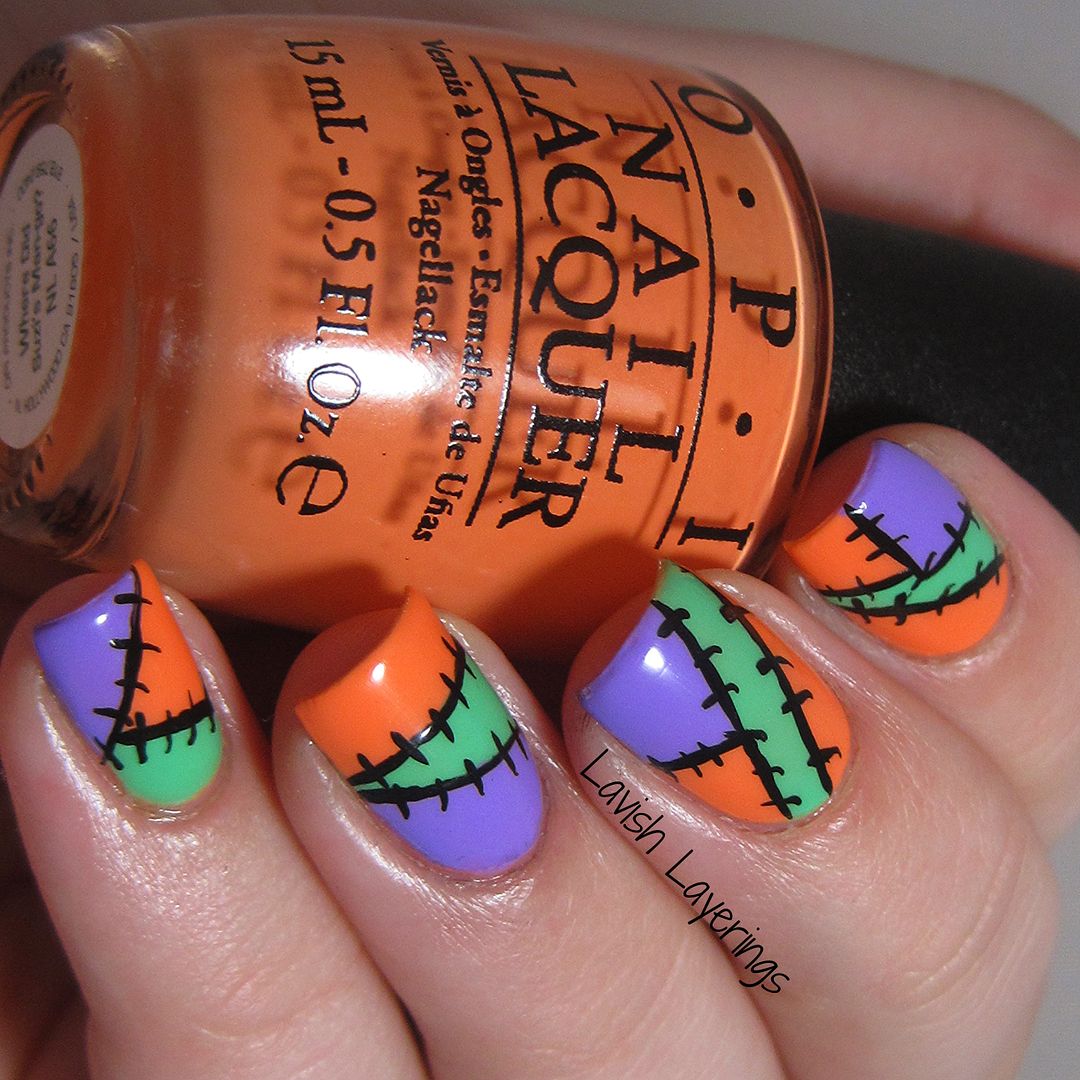
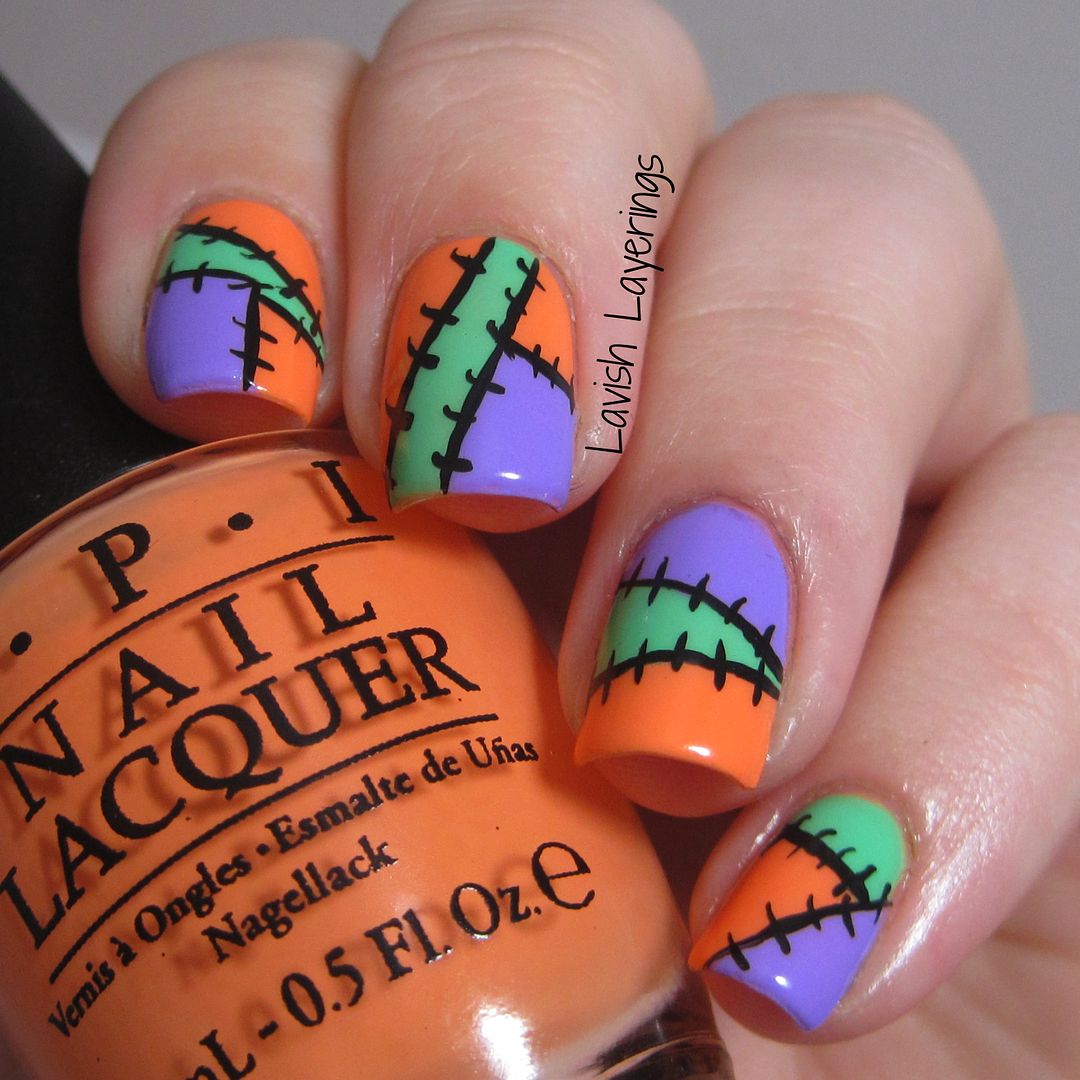
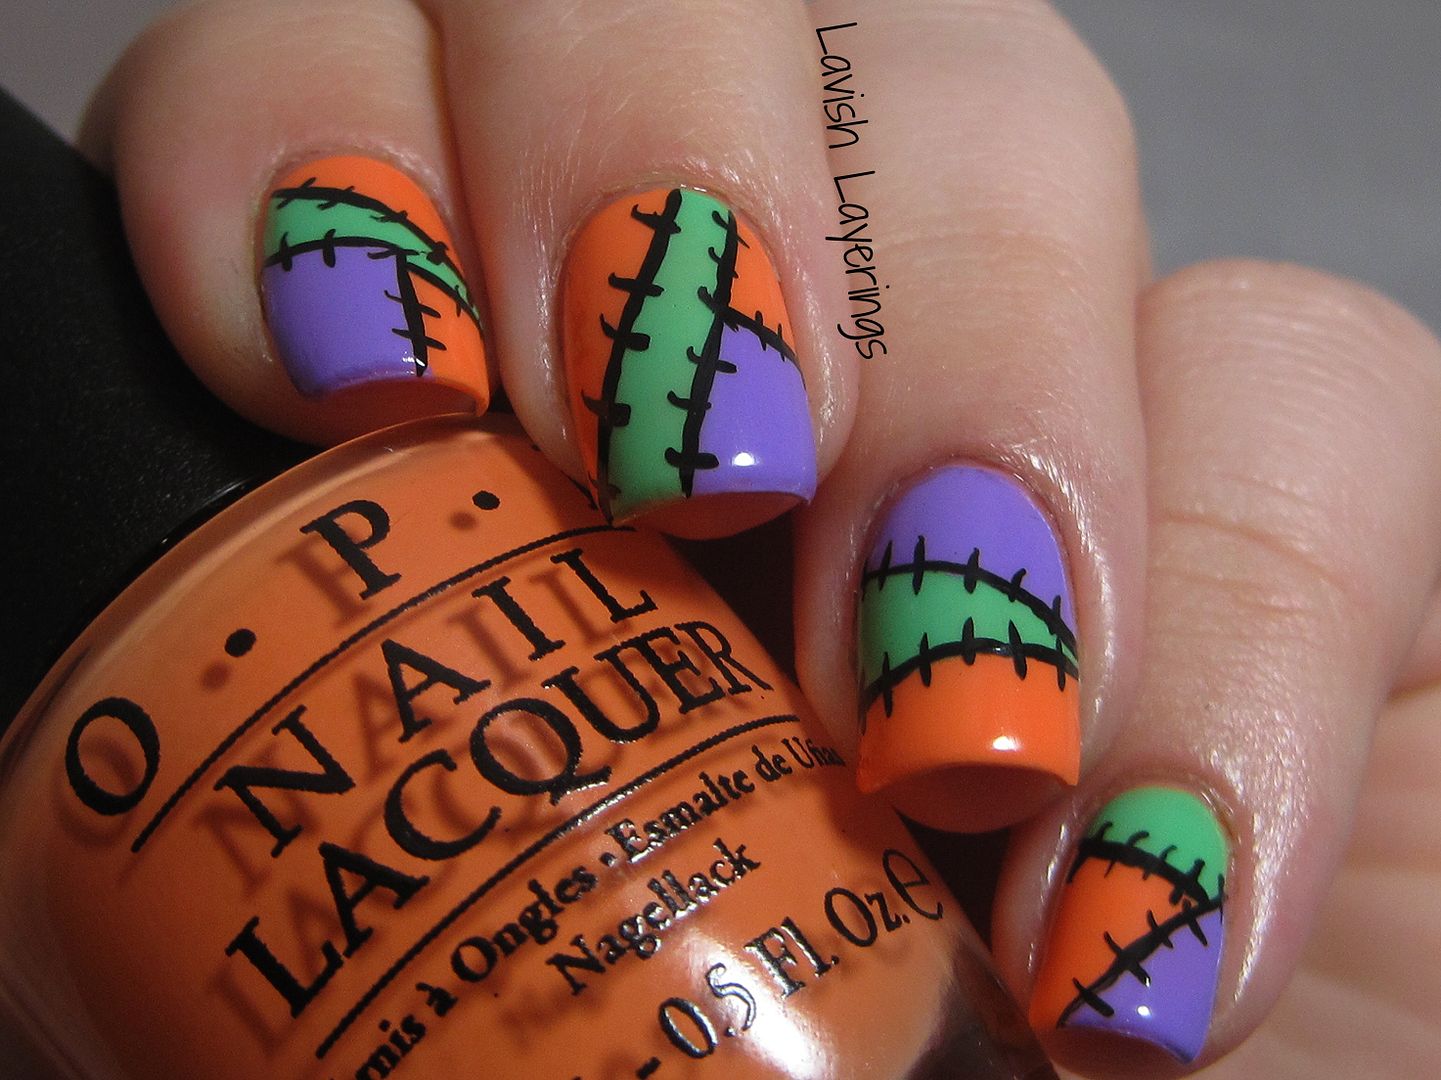
For my Halloween mani, I decided to FINALLY do a tutorial that I've been meaning to try for ages because it is too cute! If you have followed my blog for any time at all, you will know that I adore the nail art looks that The Nailasaurus comes up with and I'm often looking to her nail art for inspiration. Today I decided to copy her Halloween Patchwork nails. It's actually a quite simple design, but requires a bit of patience for the dry time because you have to make sure that each layer of "patches" is dry before you move on to the next. I started off with my orange base (OPI Where Did Suzi's Man-go) and after it dried I used straight Nail Vinyls to make the green (OPI You are So Outta Lime!) and then purple (Illamasqua Jo'Mina) patches. Then I used black acrylic paint and a fine nail art brush to paint on the stitching. I thought it turned out so cute! Also, I did my ring finger in honor of one of my other all-time favorite nail bloggers, Chloe's Nails, who I first saw doing patchwork manis back when I first started getting into nail polish.
So what do you think of this look? I know it's been done a lot, but I really love it! Be sure to check out what these lovely ladies have created! Thanks for looking everyone!
Hi everyone! Today I taking part in the first Hobby Polish Bloggers Monthly Mani Link-Up and this month's theme is Halloween! Hobby Polish Bloggers is a Facebook group that I'm involved in whose members are nail bloggers that blog for fun. It is a great group of gals that share blogging tips, discussions, and generally support for our fellow bloggers. This is a new monthly link-up that we are doing, so be sure to check out what all of the other ladies have done for their Halloween manis in the link-up at the end of this post. And if you are on Instagram, you can see their work under #HPBHalloween.
For my Halloween mani, I decided to FINALLY do a tutorial that I've been meaning to try for ages because it is too cute! If you have followed my blog for any time at all, you will know that I adore the nail art looks that The Nailasaurus comes up with and I'm often looking to her nail art for inspiration. Today I decided to copy her Halloween Patchwork nails. It's actually a quite simple design, but requires a bit of patience for the dry time because you have to make sure that each layer of "patches" is dry before you move on to the next. I started off with my orange base (OPI Where Did Suzi's Man-go) and after it dried I used straight Nail Vinyls to make the green (OPI You are So Outta Lime!) and then purple (Illamasqua Jo'Mina) patches. Then I used black acrylic paint and a fine nail art brush to paint on the stitching. I thought it turned out so cute! Also, I did my ring finger in honor of one of my other all-time favorite nail bloggers, Chloe's Nails, who I first saw doing patchwork manis back when I first started getting into nail polish.
So what do you think of this look? I know it's been done a lot, but I really love it! Be sure to check out what these lovely ladies have created! Thanks for looking everyone!
Tuesday, June 3, 2014
Elevation Polish Aguja St Exupery over Illamasqua Collide
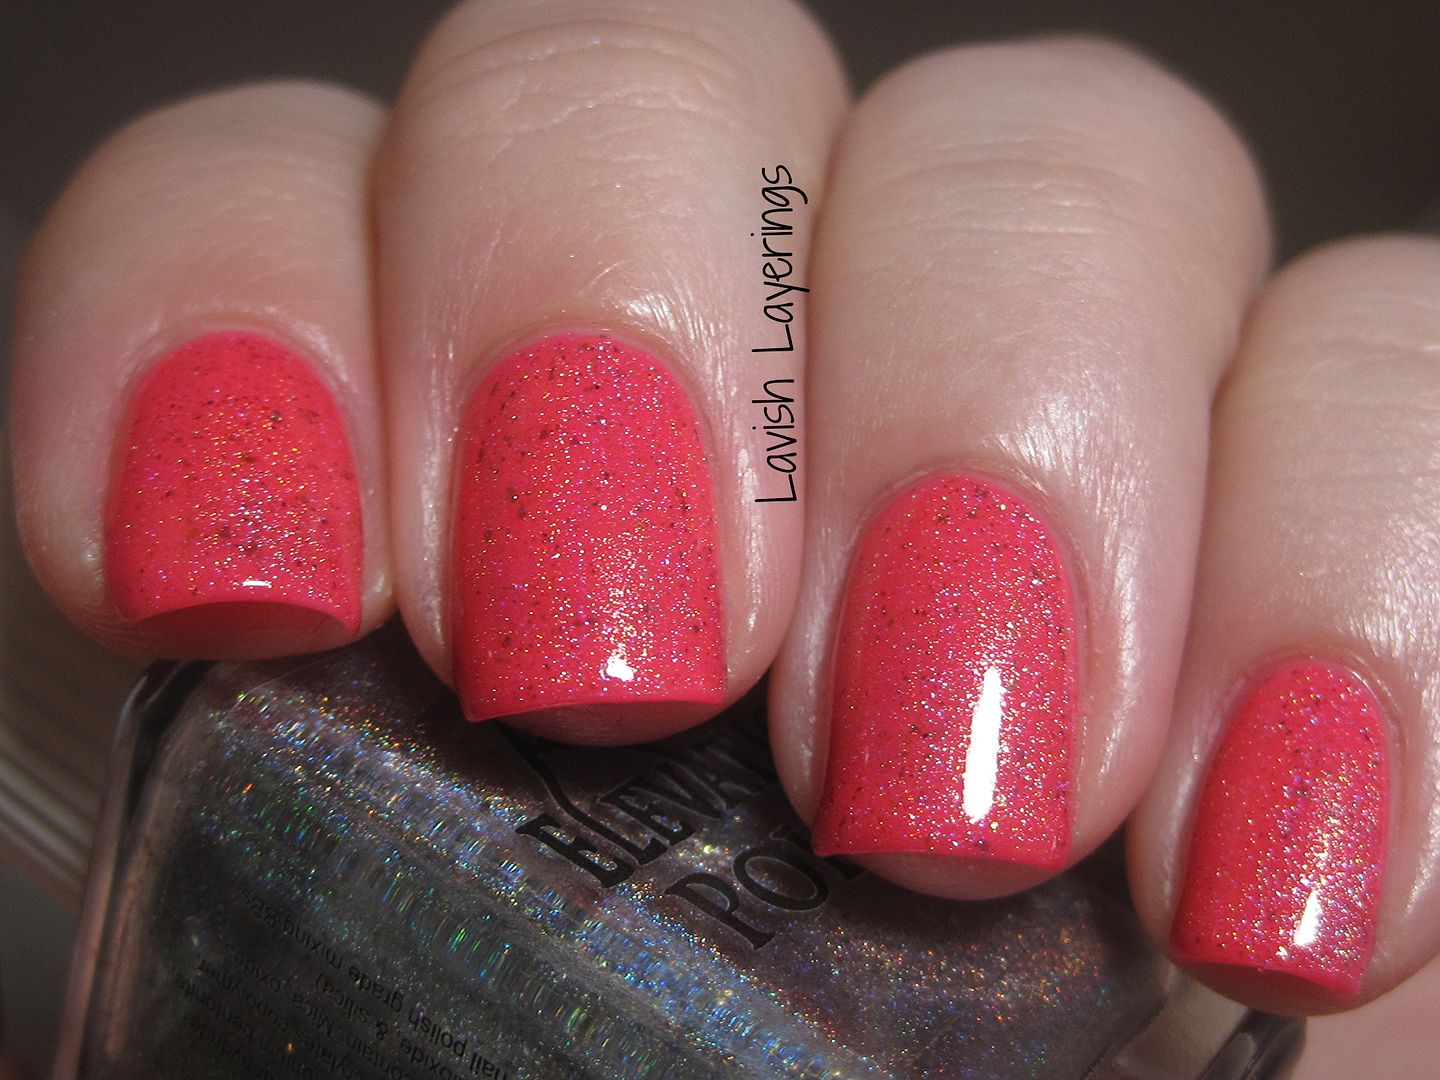
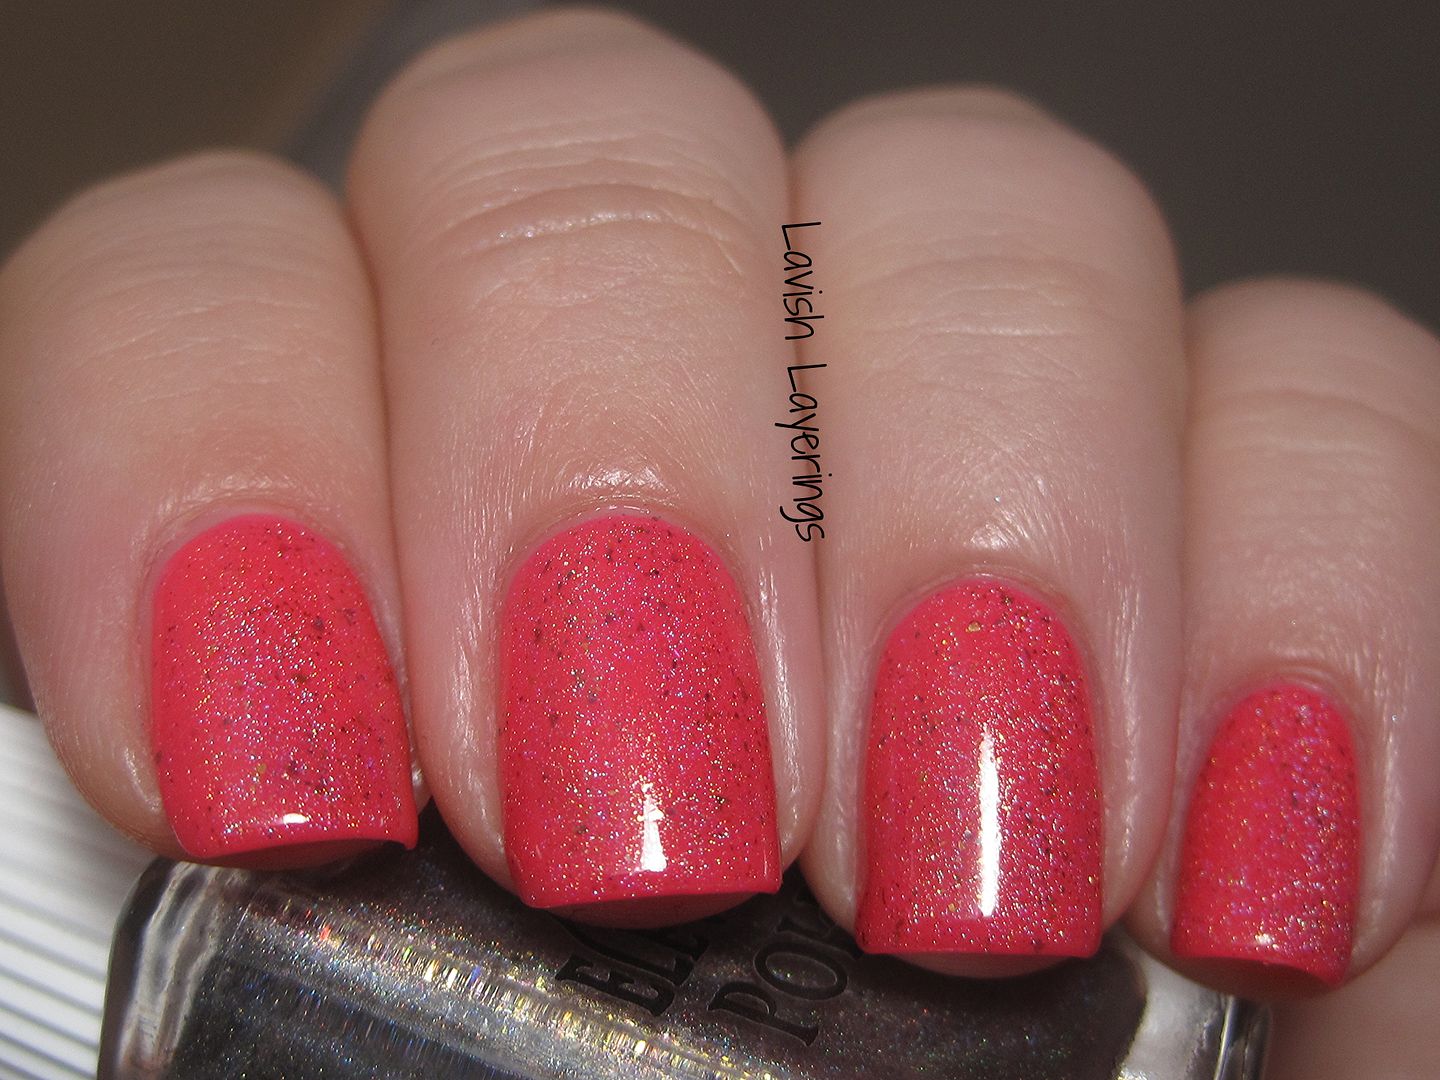
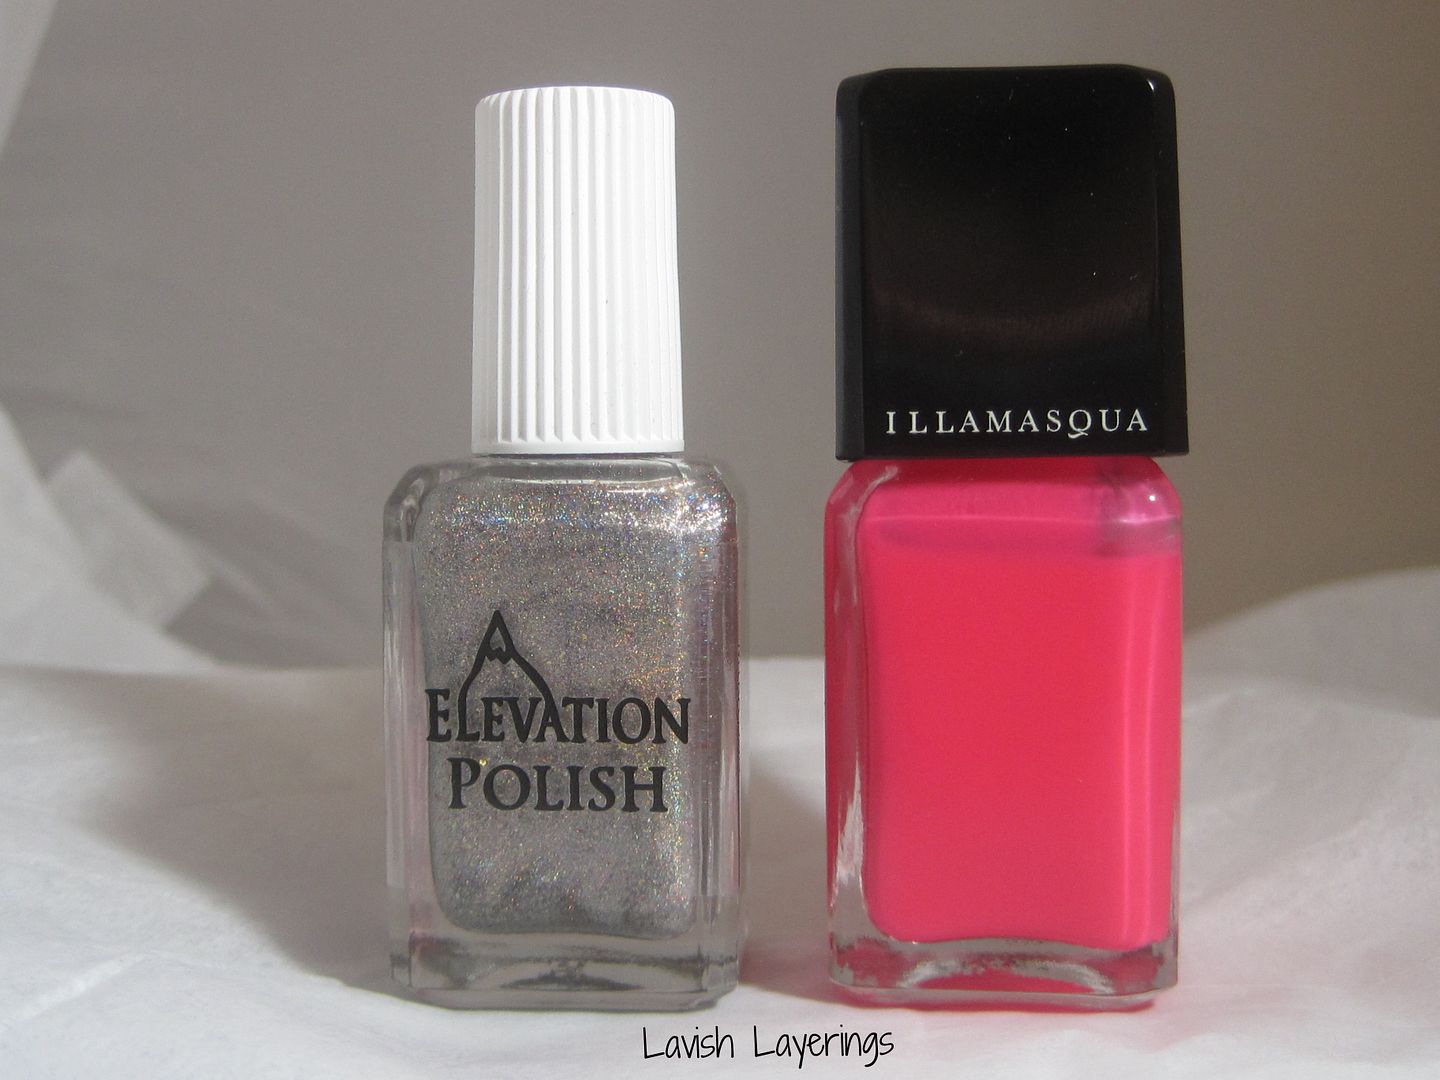
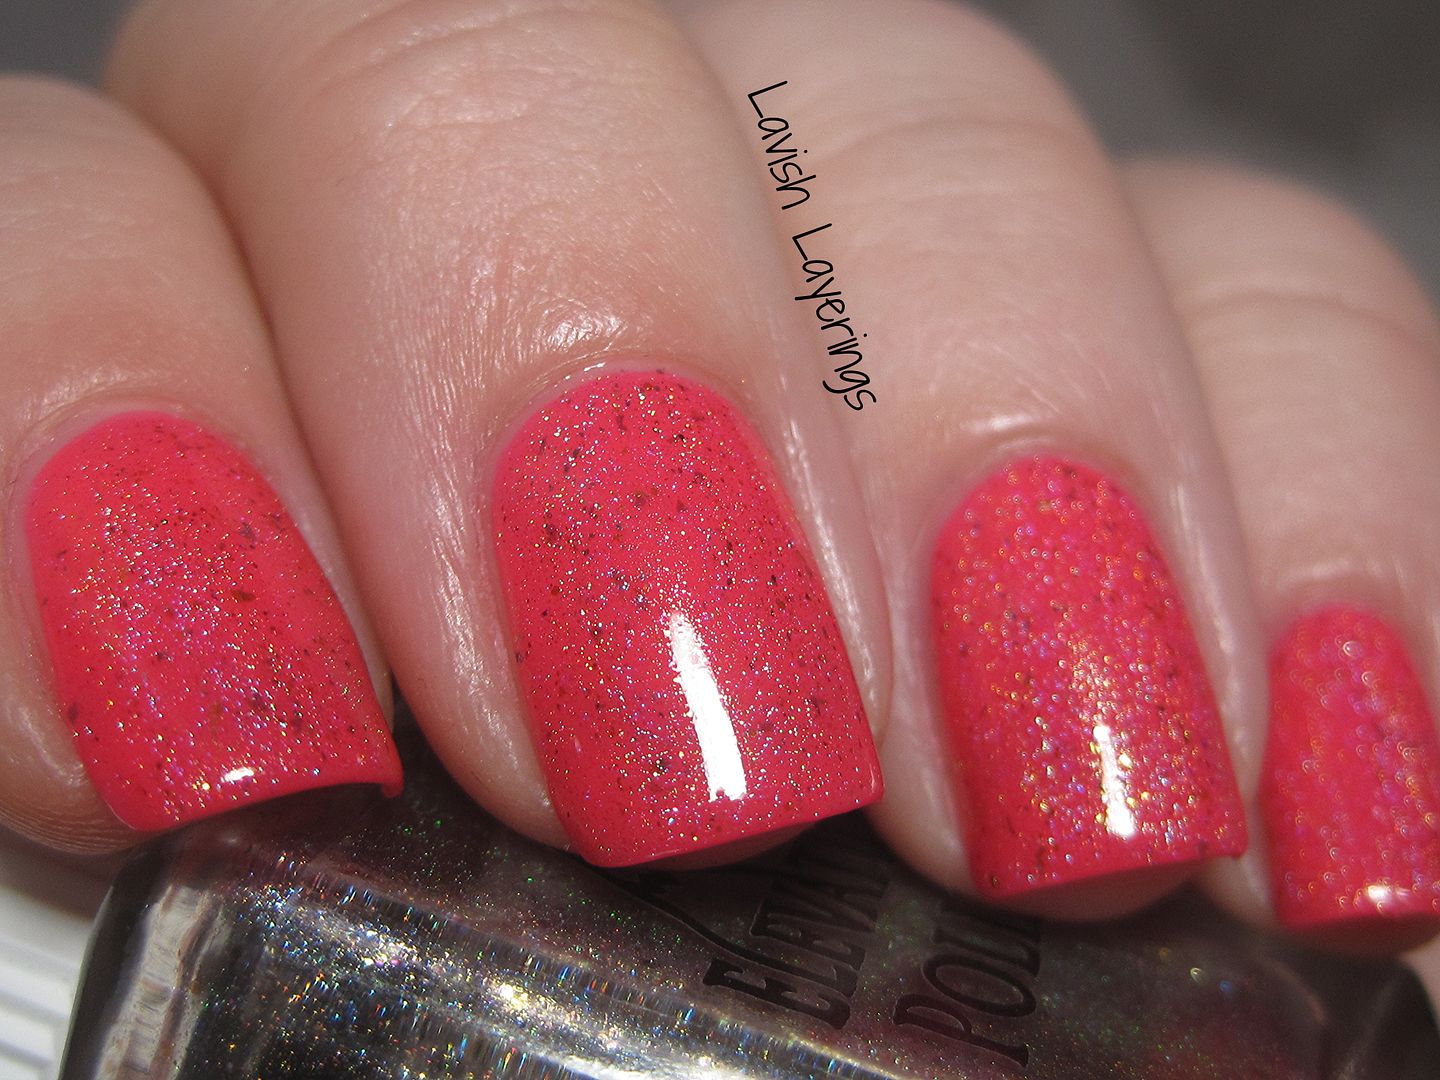
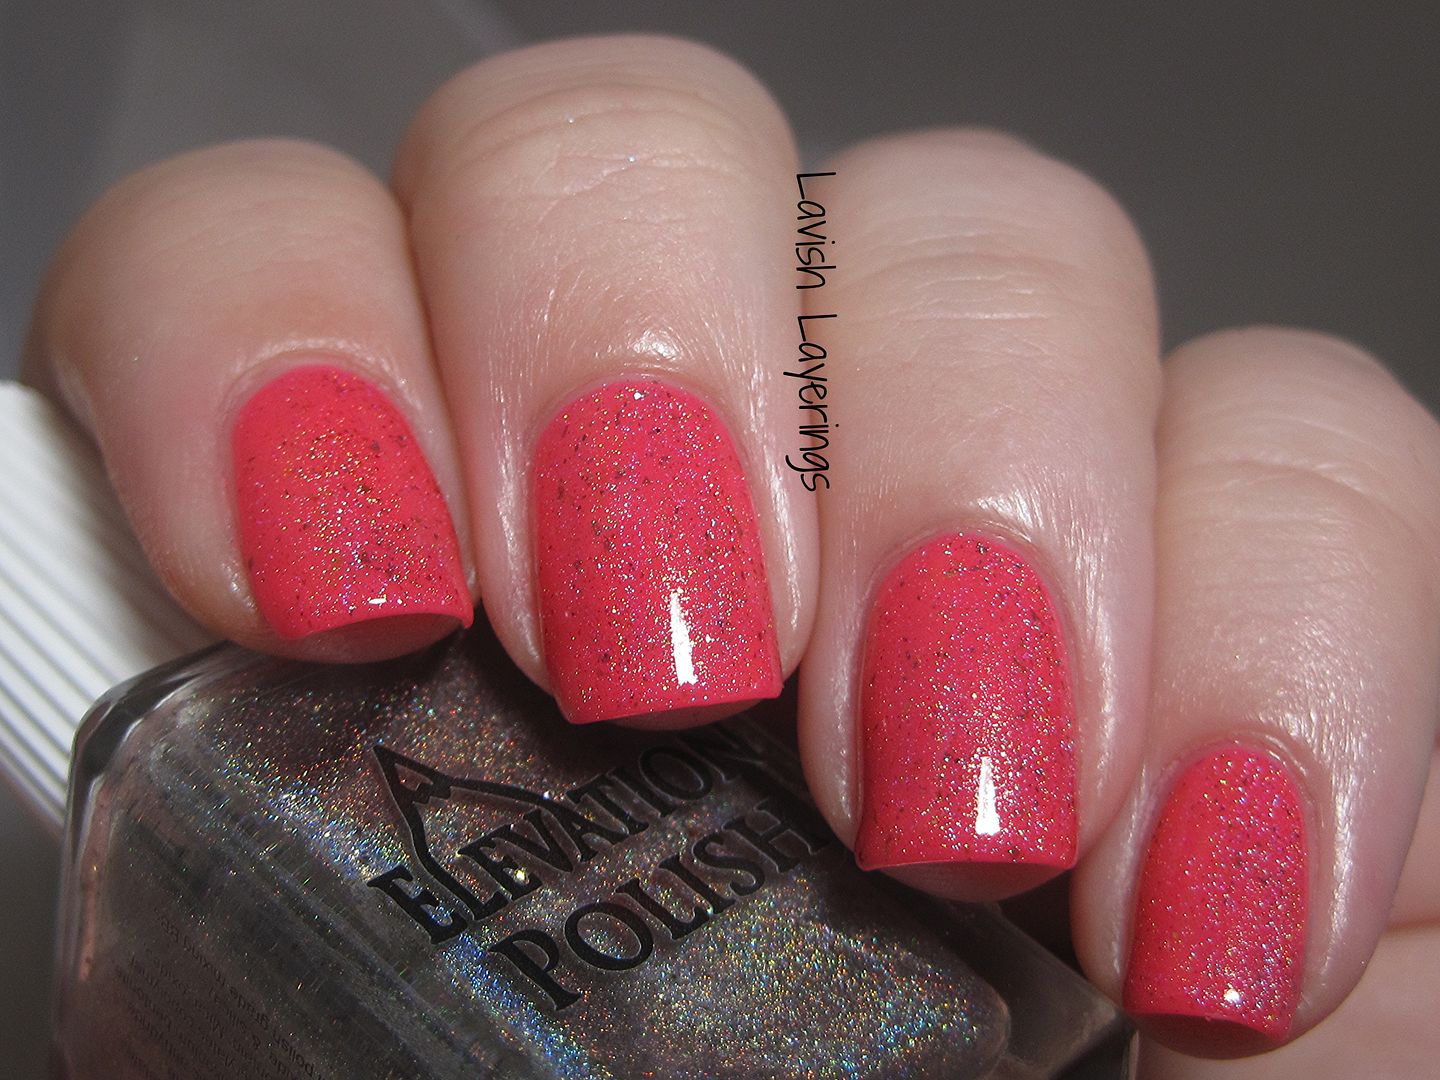
Hi everyone! Today I have a pretty layered mani that I was inspired to do when I was craving neon pink. I layered Elevation Polish Aguja St Exupery over Illamasqua Collide. I just love that Aguja St Exupery isn't your typical holo topcoat with its extra flakes and shimmery bits. I loved this combo and wore it for several days. I swear, I don't know what is up with my pink kick lately. Hopefully Lulu won't disown me for pairing an Elevation with pink...
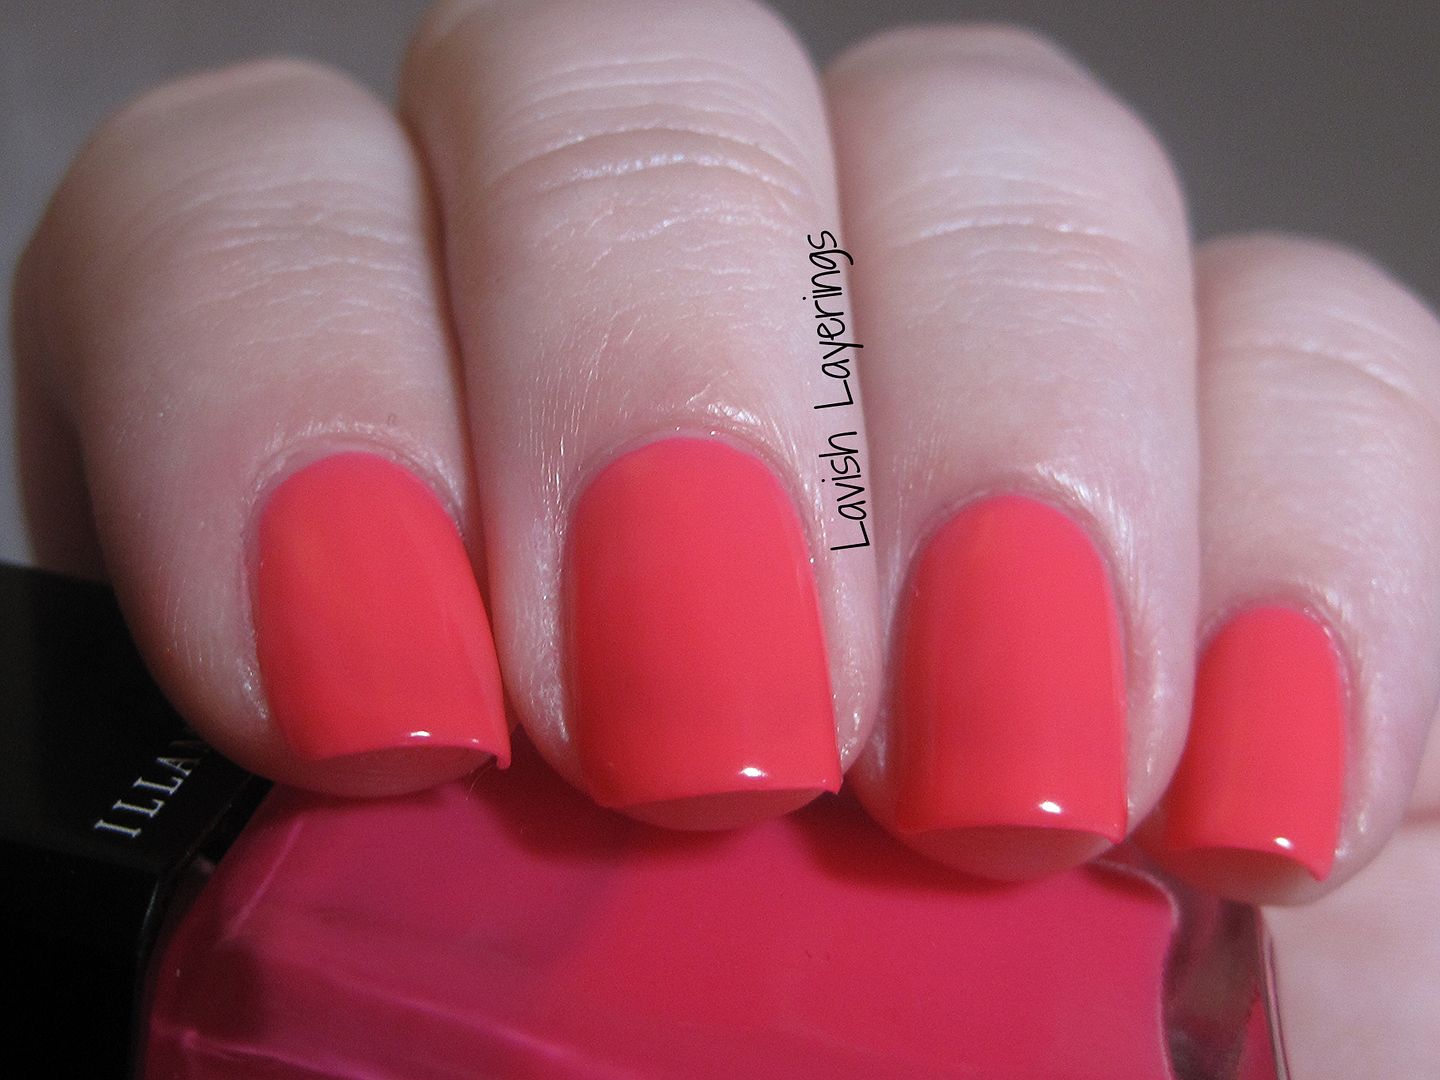
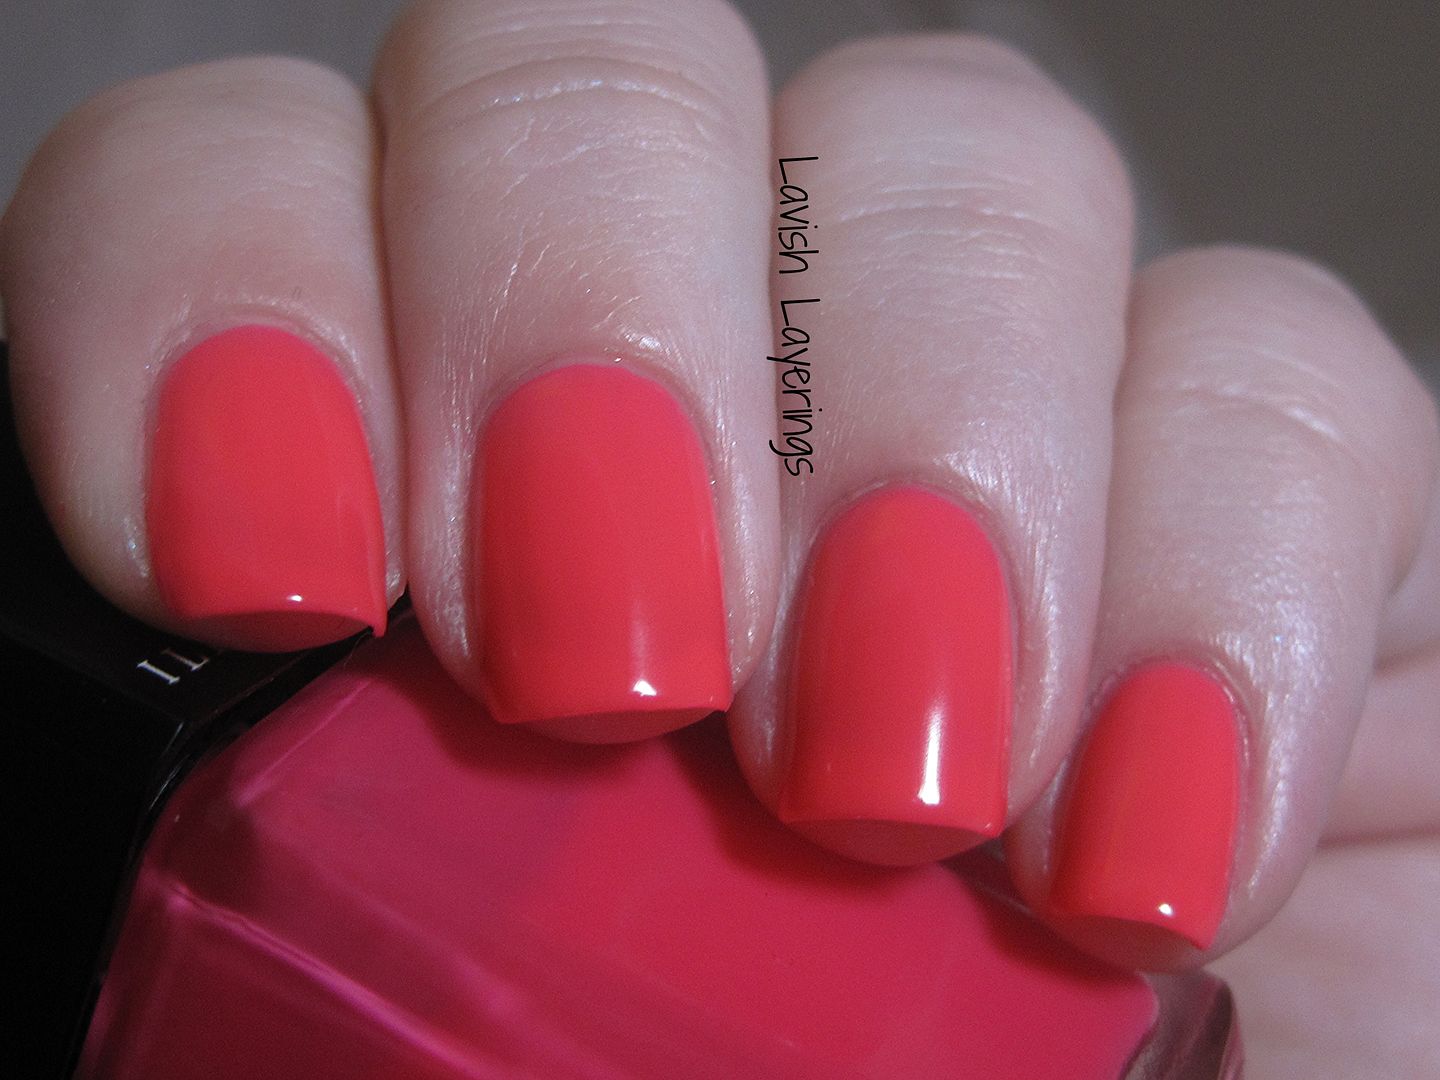
Here is Illamasqua Collide on its own. It's a warm pink neon jelly. This is two perfect coats. It has always been one of my favorites!
Elevation Polish is available from creator Lulu's Big Cartel Store. She has a lot of info on restock dates and availability on the Big Cartel site as well as on her blog. Her shop is restocked on the 7th and 22nd each month unless otherwise noted. Elevation Polish is also stocked at Llarowe.
Here is Illamasqua Collide on its own. It's a warm pink neon jelly. This is two perfect coats. It has always been one of my favorites!
Labels:
Elevation Polish,
Holo,
Illamasqua,
Indie,
Jelly,
Neon
Thursday, March 6, 2014
Layering with Essie, Girly Bits, and Illamasqua
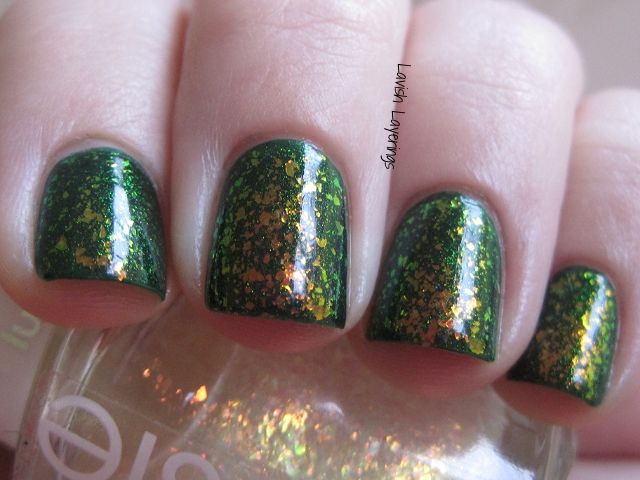
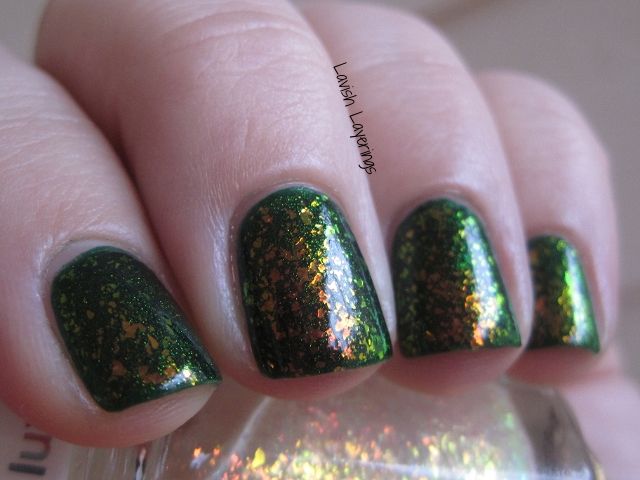
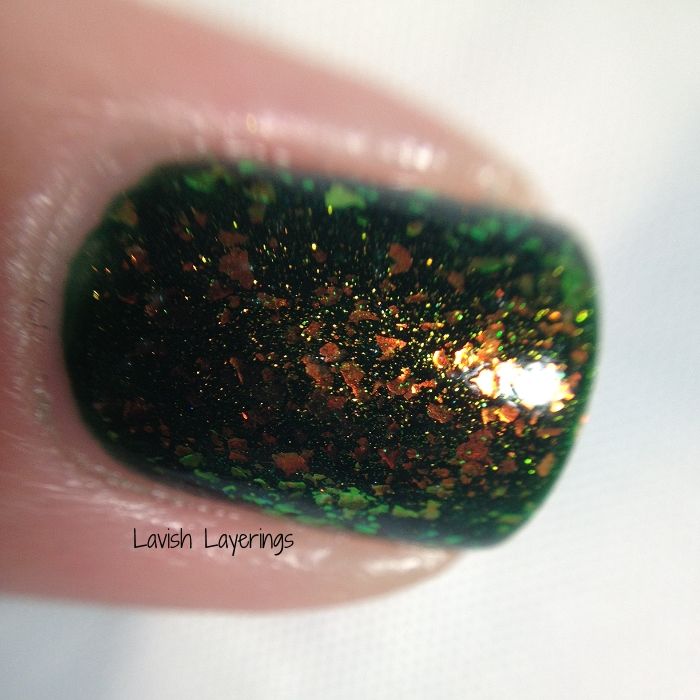
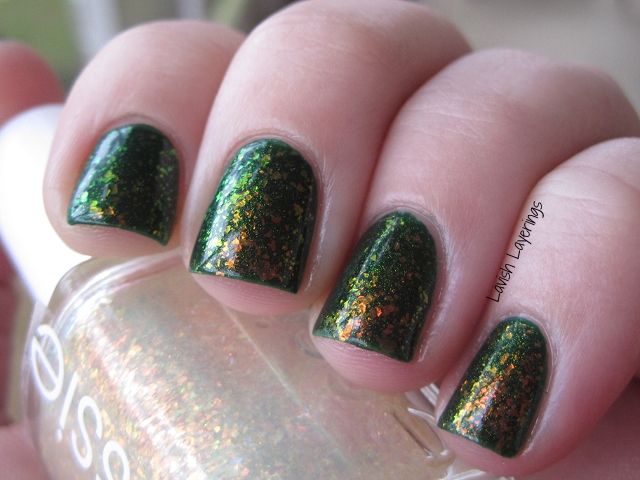
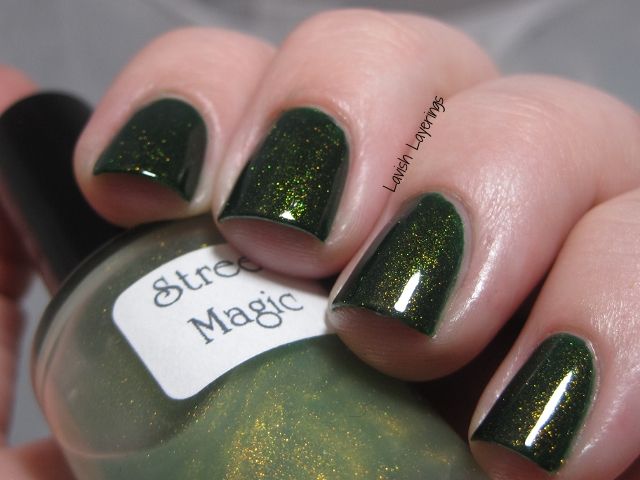
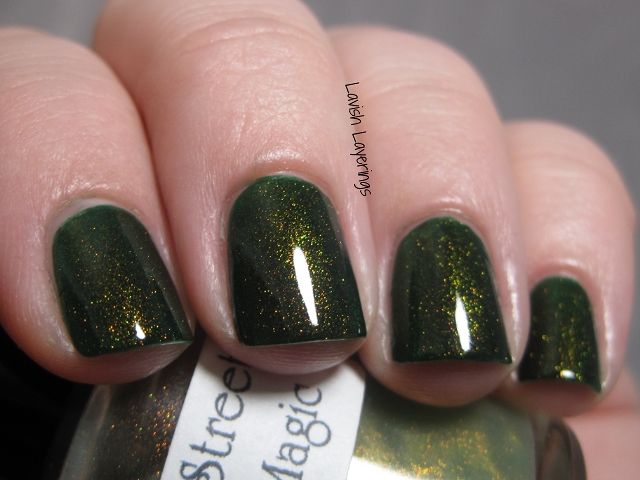
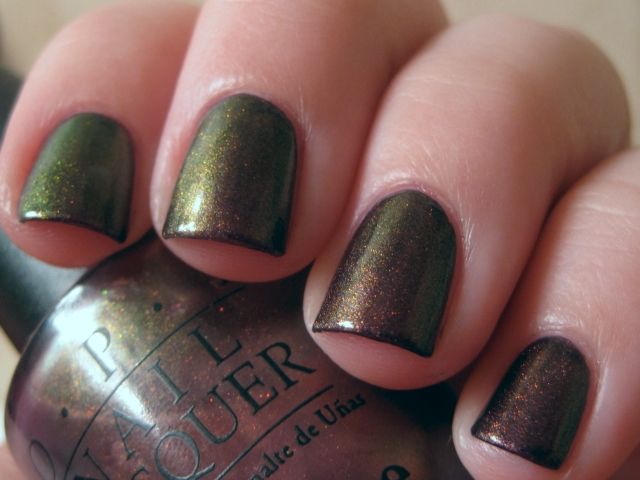
Today I have a layered look to share. I have been wanting to wear flakies lately, so this is what I came up with. I started off with a base of Illamasqua Rampage (the BEST dark green jelly I know) and then layered on one thin coat of Girly Bits Street Magic, which is a gold/green color shifting topcoat. Now that was magical on its own, but then I decided to make it EVEN BETTER and added one coat of Essie Shine of the Times. Manis that change in every light are my favorite sort of manis and this one really fits the bill.
Super macro fun again!
Now here are a few pics of Girly Bits Street Magic over Illamasqua Rampage before the flakies were added. Still a magical combination!
Super macro fun again!
Now here are a few pics of Girly Bits Street Magic over Illamasqua Rampage before the flakies were added. Still a magical combination!
I purchased Illamasqua Rampage from Sephora.com. Essie Shine of the Times is unfortunately discontined, but there are several dupe of this polish around.
Girly Bits Cosmetics' polishes are available from creator Pam's online shop as well as from
e-tailers around the world including: Llarowe (US), Overall Beauty (US), Mei Mei's Signatures (Singapore),Harlow and Co. (Canada), Femme Fatale Cosmetics (Australia), Foxy Fingertips (Denmark), and Maria Gastadeira (Brazil). Be sure to follow Girly Bits on Facebook and Instagram for news about restocks and new collections.
Thanks for looking everyone!
Thursday, January 2, 2014
Random Pastel Leopard...
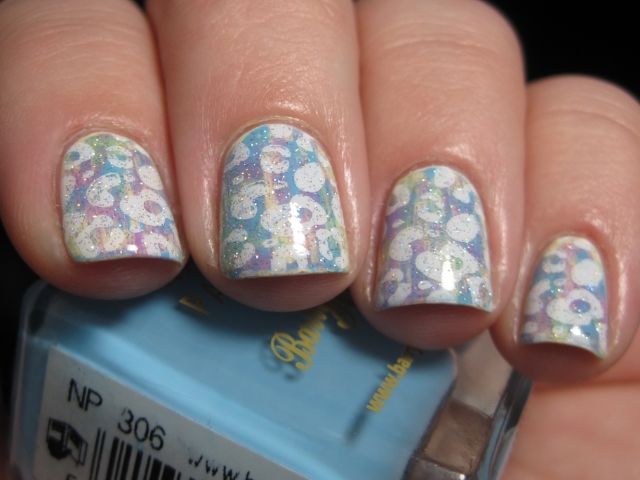
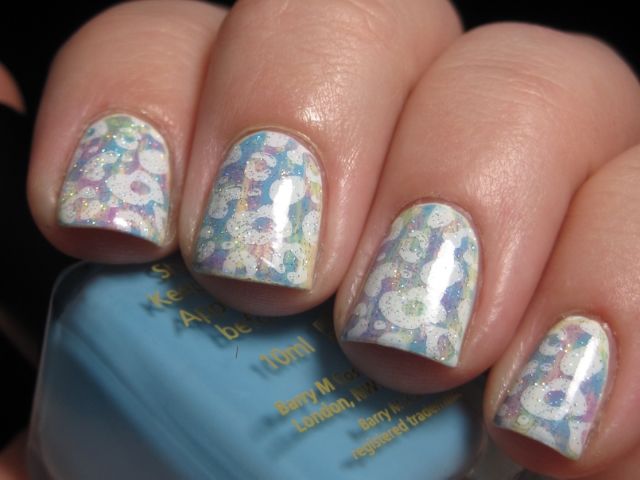
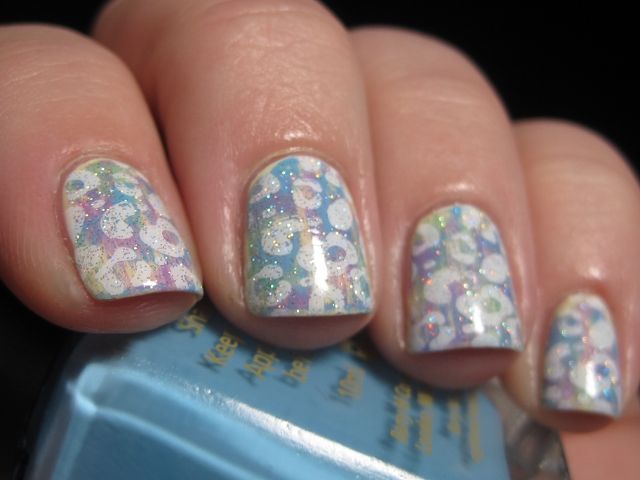
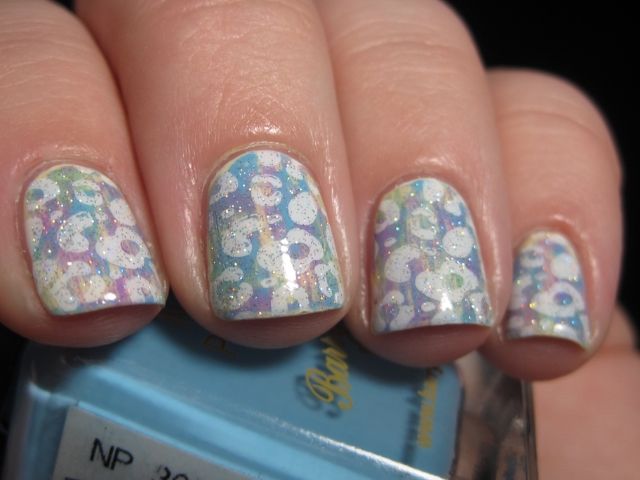
Yeah...I have no idea... I was wanting to do something atypical for winter and somehow a pastel leopard was born. And then I had to throw some glitter in there too. I guess this is where my brain goes after too many days of work and too much gloomy weather...
I started out doing a distressed look with Revlon Buttercup as my base and then I used Illamsqua Jo'mina, OPI Mermaid Tears, and Barry M Blueberry Ice Cream for my other colors. Then I stamped a leopard design using the Cheeky XL Wild at Heart plate and Konad White. Finally I added a coat of China Glaze Fairy Dust.
And that concludes this edition of random, non-seasonally appropriate nail art. Thanks for looking everyone!
I started out doing a distressed look with Revlon Buttercup as my base and then I used Illamsqua Jo'mina, OPI Mermaid Tears, and Barry M Blueberry Ice Cream for my other colors. Then I stamped a leopard design using the Cheeky XL Wild at Heart plate and Konad White. Finally I added a coat of China Glaze Fairy Dust.
And that concludes this edition of random, non-seasonally appropriate nail art. Thanks for looking everyone!
Wednesday, January 1, 2014
Chaos and Crocodiles Rainbows All Around
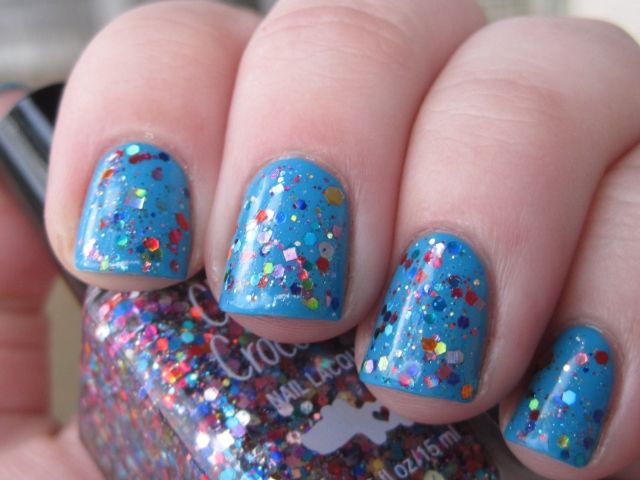
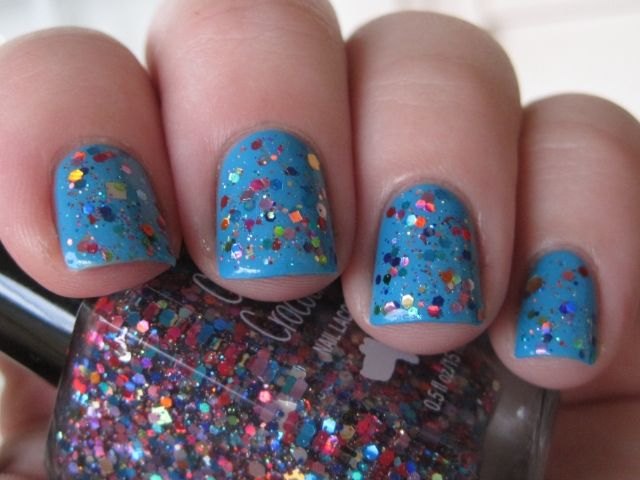
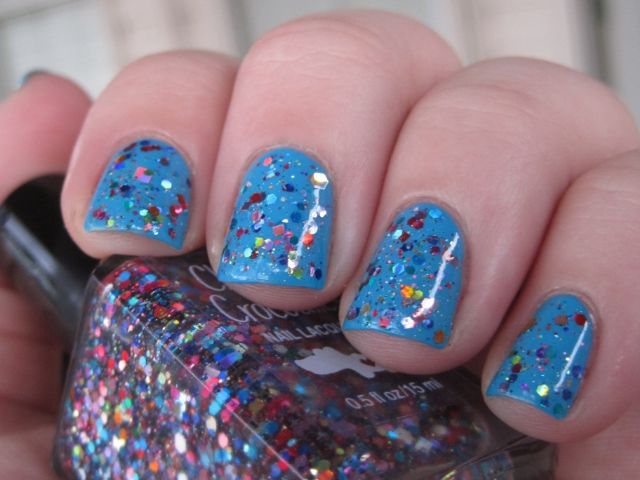
Hi everyone and Happy New Year! I utterly destroyed my NYE mani before I could get proper pictures, so I thought I would share something bright and cheery with you today instead. I recently picked up a few Chaos and Crocodiles polishes during a pre-order and Rainbows All Around just had to be mine. It is a fun mix of multicolored holographic glitters in a clear base. I used 1 coat over Illamasqua Noble for this mani. I love how smooth and workable the glitter formula is and it actually didn't require a lot of topcoat to smooth out, which is always a plus with blingy glitters.
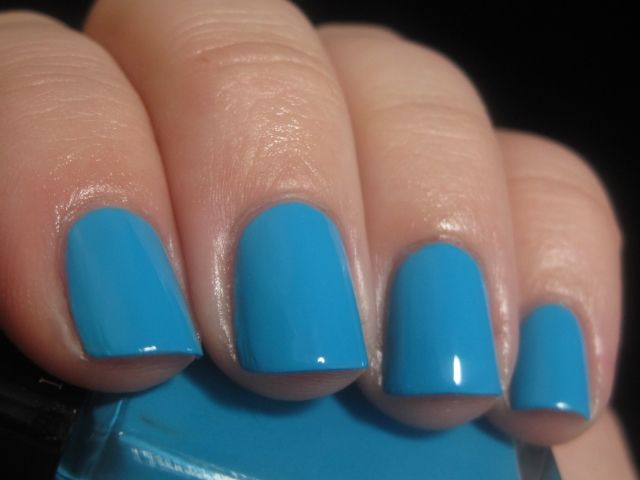
Here is Illamasqua Noble on its own. It is still one of my favorite cremes ever.
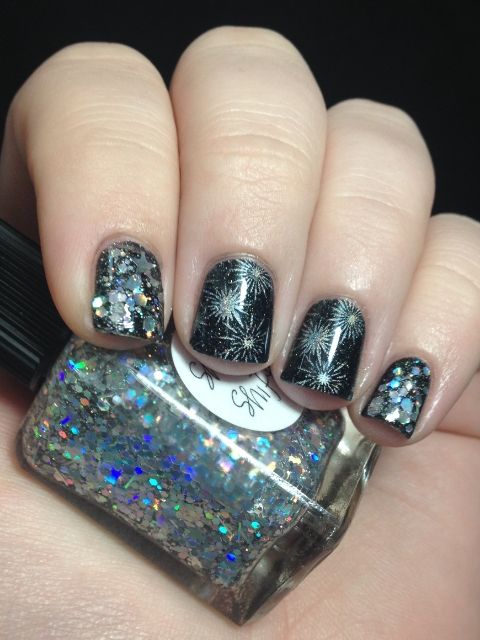
And here is a peek at the one terrible iPhone picture I got of my NYE mani. I used L.A.Girl Black Illusion as a base and then used Darling Diva Polish Diamond to stamp on the fireworks from the Bundle Monster H14 plate. The accents are Lynnderella Shapeshifter. I then proceeded to destroy one of the glittery nails before I ever got proper pictures so...bummer.
Chaos & Crocodiles polishes are available from their Big Cartel shop as well as from Mei Mei's Signatures. You can keep track of info on restocks and releases by following their blog and Facebook. Thanks for looking everyone!
And here is a peek at the one terrible iPhone picture I got of my NYE mani. I used L.A.Girl Black Illusion as a base and then used Darling Diva Polish Diamond to stamp on the fireworks from the Bundle Monster H14 plate. The accents are Lynnderella Shapeshifter. I then proceeded to destroy one of the glittery nails before I ever got proper pictures so...bummer.
Chaos & Crocodiles polishes are available from their Big Cartel shop as well as from Mei Mei's Signatures. You can keep track of info on restocks and releases by following their blog and Facebook. Thanks for looking everyone!
Saturday, October 26, 2013
Falling for Nail Art (Fail): Bump in the Night featuring Illamasqua Omen
Hi everyone! I almost didn't post this "Falling for Nail Art" challenge since it was a mega fail, but I loved the base color I used so I figured we could focus on that. This challenge was for Wednesday and it was "Bump in the Night" inspired. Now my grand I idea was to use the bats and creepy eyes stamps (from the Bundle Monster H08 plate) and then use OPI Black Spotted on my other nails to make them look creepy/rustic (whatever) but I guess I layered it too thick (even though I was careful to wipe most all of it off of my brush) so the spotted effect was very minimal. This makes me angry because I have used it playing around before and it worked so well! So anyway...boo for the final result. The stamping was cute though!
But let's talk about the base color: Illamasqua Omen. This polish is part of the limited edition Paranormal Collection and the polishes here are all UV reactive. Now unfortunately, I do not have a black light at my house, so I can't take super awesome pictures of polishes like this (or of Glow in the Dark polishes for that matter). I do think I will pick one up for the future so I can take cool pictures if I ever have polishes like this. But, I really just wanted this polish because I think it is gorgeous. I wasn't too concerned about the UV reactive part because I do no go out to clubs (but if I ever go Galaxy Bowling...I'm definitely reaching for this one...I live and exciting life). The shimmer in it reminds me very much of Illamasqua Poke. This is 2 easy coats.
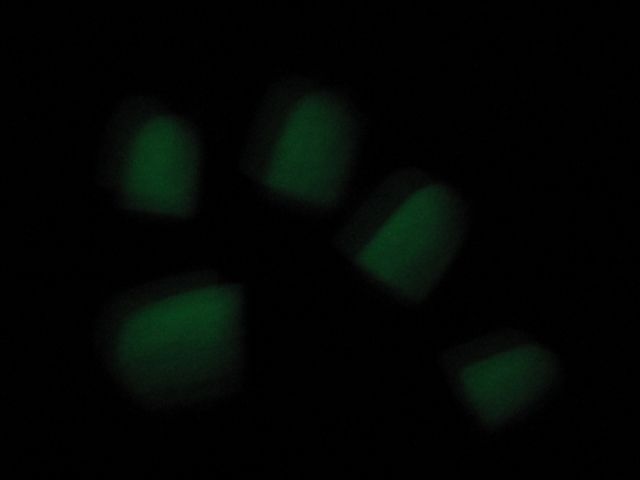
In the end, I wanted to make it glow in the dark since I don't have a black light to showcase the UV reactive element of Omen, so I used 2 coats of China Glaze Ghoulish Glow over Omen. It glowed so well, but I failed at capturing it on film. I guess you really need a black light to show any sort of glow polish, even those that glow on their own in the dark.
After it was all said and done, I really wish I had just worn Illamasqua Omen by itself because it is so gorgeous and just abandoned all of the other nonsense. Oh well...c'est la vie. Thanks for looking everyone!
In the end, I wanted to make it glow in the dark since I don't have a black light to showcase the UV reactive element of Omen, so I used 2 coats of China Glaze Ghoulish Glow over Omen. It glowed so well, but I failed at capturing it on film. I guess you really need a black light to show any sort of glow polish, even those that glow on their own in the dark.
After it was all said and done, I really wish I had just worn Illamasqua Omen by itself because it is so gorgeous and just abandoned all of the other nonsense. Oh well...c'est la vie. Thanks for looking everyone!
Sunday, October 6, 2013
Purple Shimmer Sunday: Illamasqua Baptiste + OPI Movin Out
Hi everyone! It's Purple Shimmer Sunday again! Be sure to check out what Kristy and Kathy are doing today! Today I have two of my favorite polishes combined in one fantastic manicure. OPI Movin Out is from the Holiday on Broadway collection way back from 2003 (same collection as La Boheme). It has a gorgeous shift from pink to green with little red sparkles throughout. I've worn it before over black, but this time I went for purple.
One of my favorite purples in fact, Illamasqua Baptiste. It is purple shimmer perfection in my book and one I think every purple lover should have. The microshimmer in it is glorious and the formula top notch. This is 2 coats of Baptiste. I feel that it leans a little warmer in real life due to the reddish shimmer, but pictures make it look more cool.
And now here is 1 coat of Movin Out over Baptiste. As you can see from the bottle, the formula of Movin Out is more milky than Clarins 230 and its dupes as you can see in the bottle pics and the end result from layering it looks very different than them.
One of my favorite purples in fact, Illamasqua Baptiste. It is purple shimmer perfection in my book and one I think every purple lover should have. The microshimmer in it is glorious and the formula top notch. This is 2 coats of Baptiste. I feel that it leans a little warmer in real life due to the reddish shimmer, but pictures make it look more cool.
And now here is 1 coat of Movin Out over Baptiste. As you can see from the bottle, the formula of Movin Out is more milky than Clarins 230 and its dupes as you can see in the bottle pics and the end result from layering it looks very different than them.
Isn't it just delicious? Thanks for looking everyone!
Tuesday, August 27, 2013
Minty Green Spam
Hi everyone! Today I have several minty green themed manis that I have done over the past month or so that I haven't posted. Enjoy!
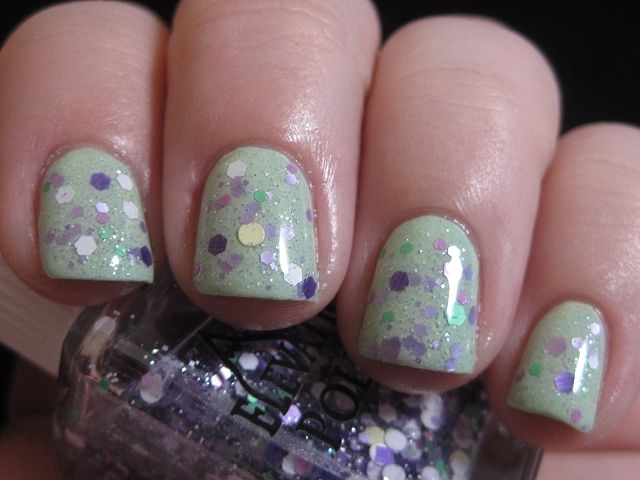
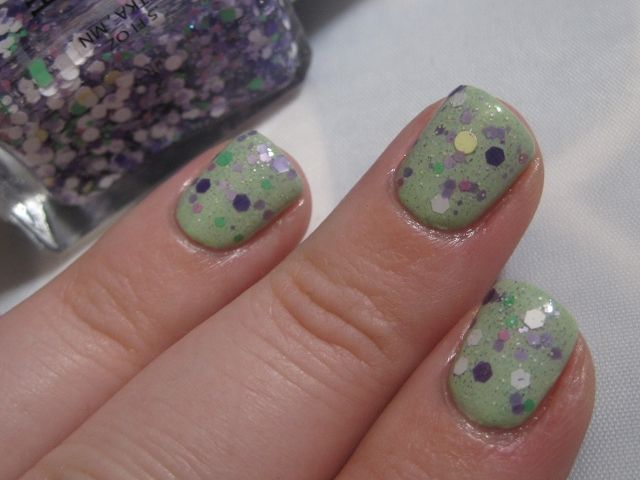
Elevation Polish Passion Flower over Pahlish Minty Fresh. I thought that Minty Fresh made the perfect base for the lovely pastel purples, yellows, whites, and greens of Passion Flower. The Pahlish was LE and is now D/C, but the Elevation Polish is still in the current line-up, although it is sold out in Lulu's shop at the moment.
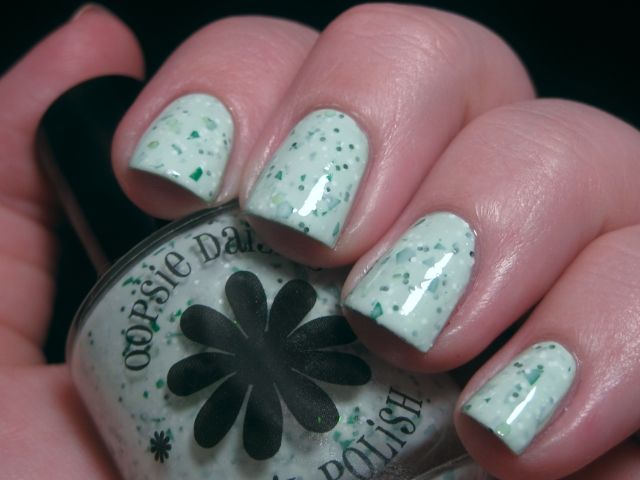
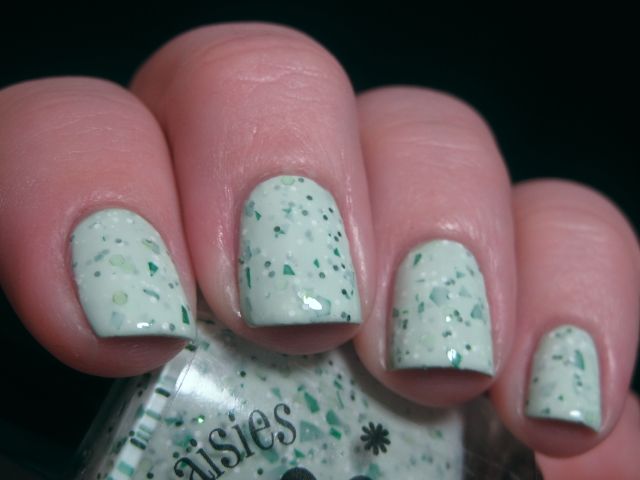
Oopsie Daisies Mojito Mist over Illamasqua Milf. I love the shards of green glitter to mimic mint leaves in this polish. Genius! Mojito Mist was part of the summer Tiki Bar collection and is still in the current line-up in Cathryn's shop (which is on vacation at the moment).
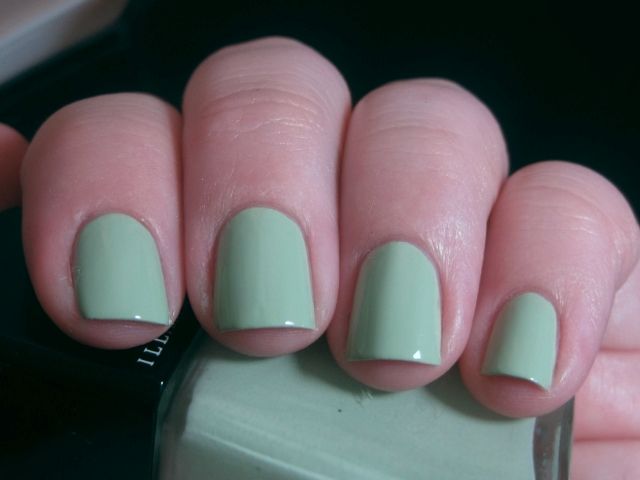
Illamasqua Milf. Yellow-leaning mint green creme with a fantastic formula. I adore Illamasqua cremes.
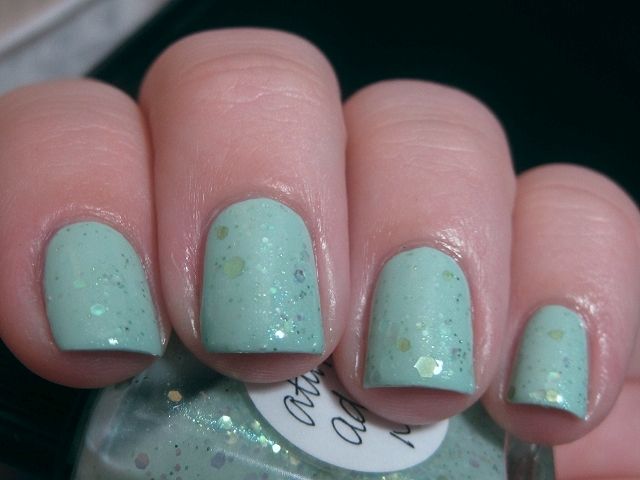
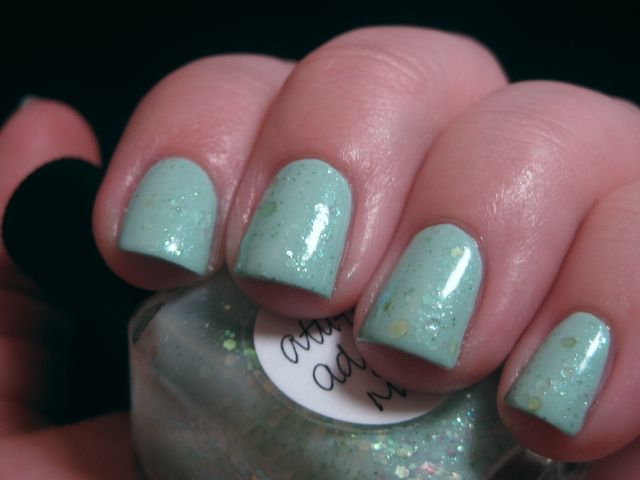
Lynnderella Attitude Adjust-mint over American Apparel Office. This was the first Lynnderella I ever wore. I got it back when she was still selling from home and I thought I hated all chunky glitter and this one was the only one I could tolerate (although I did purchase Connect the Dots, Ruby Red Ruby, Mercury's Rainbow, and Thank Blue for good measure at the time). The shimmer and color shifting glitter are delicious! My how my tastes have changed... Lynnderella polishes are available in her eBay store.
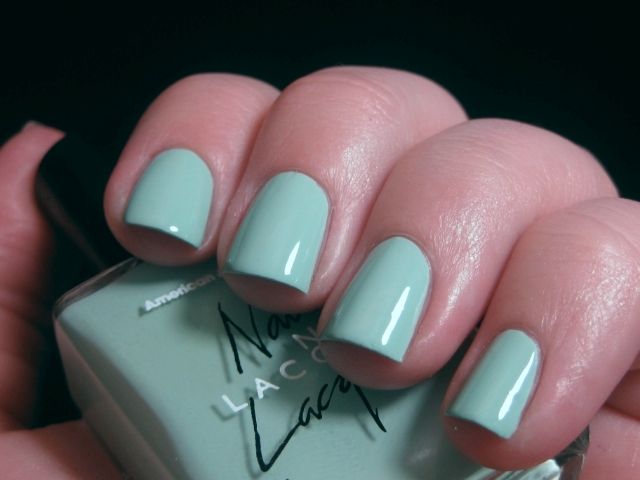
American Apparel Office. The perfect true mint green creme in my opinion. The formula is opaque and wonderful.
Did you all enjoy the minty refreshment? Thanks for looking!
Subscribe to:
Posts (Atom)