*Press Sample*
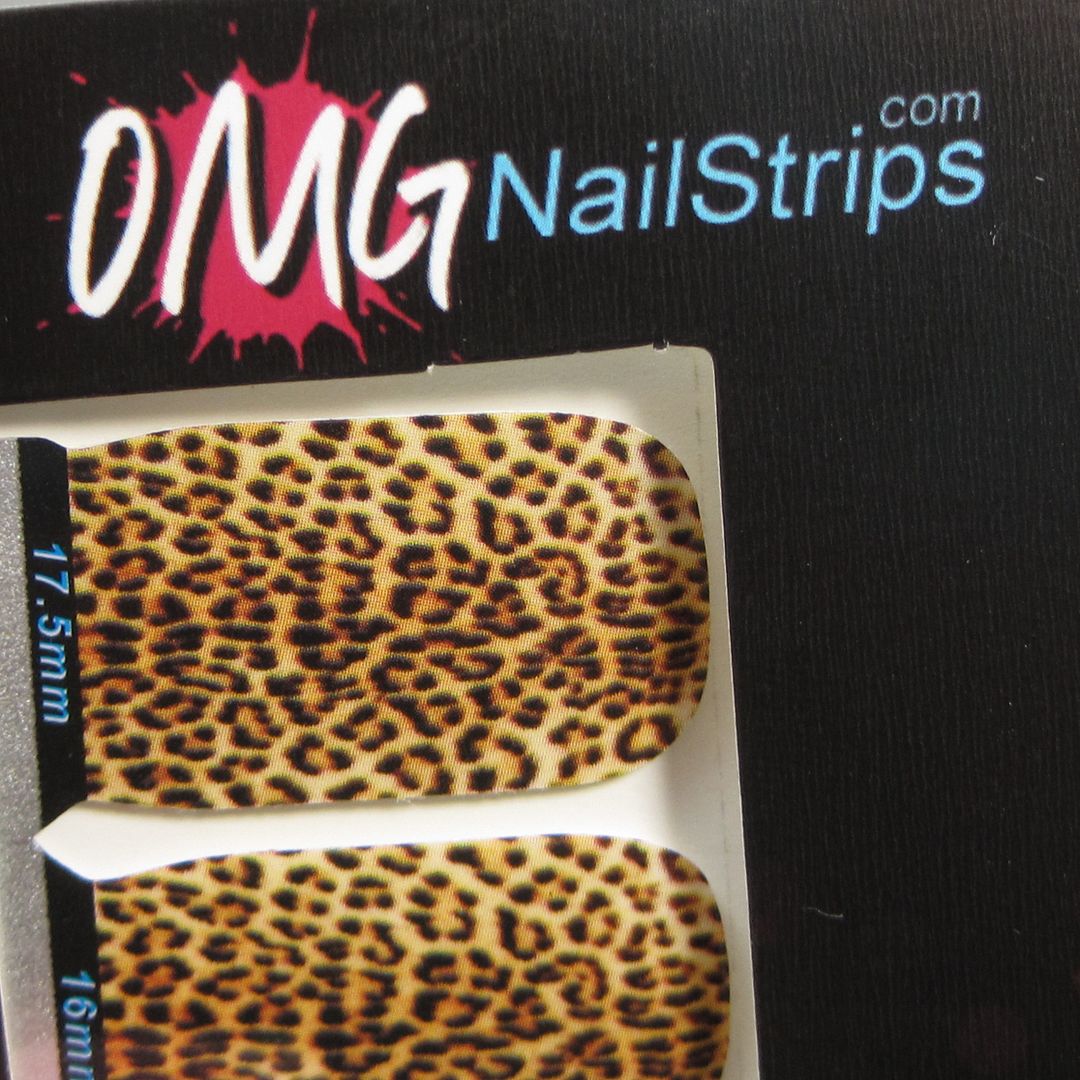
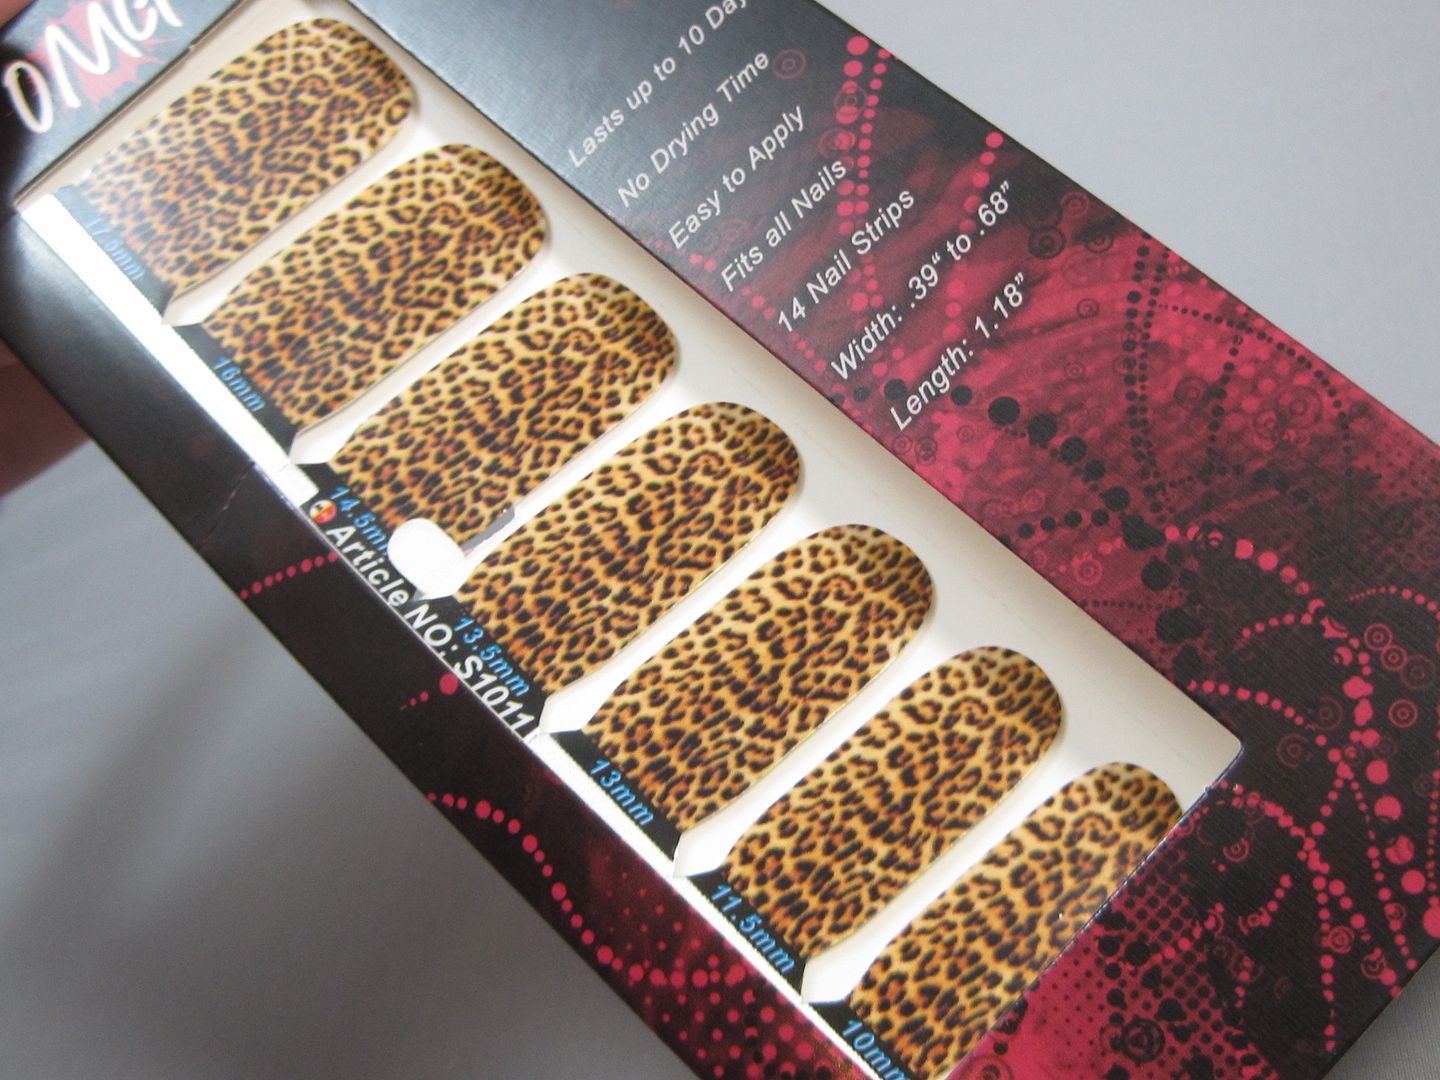
Hi everyone! Today I have a new to me product called OMG Nail Strips. I have used nail strips in the past, but they have always been of the water decal variety that you have to soak in water, peel off, and then position on your nail. These strips are sticky and you just peel them off of their backing and stick them on your nail. I got two different patterns to sample, but today I'm showing you the Cheetah pattern, which I think is a very universal design that most girls would love (I mean, who doesn't like animal prints?)
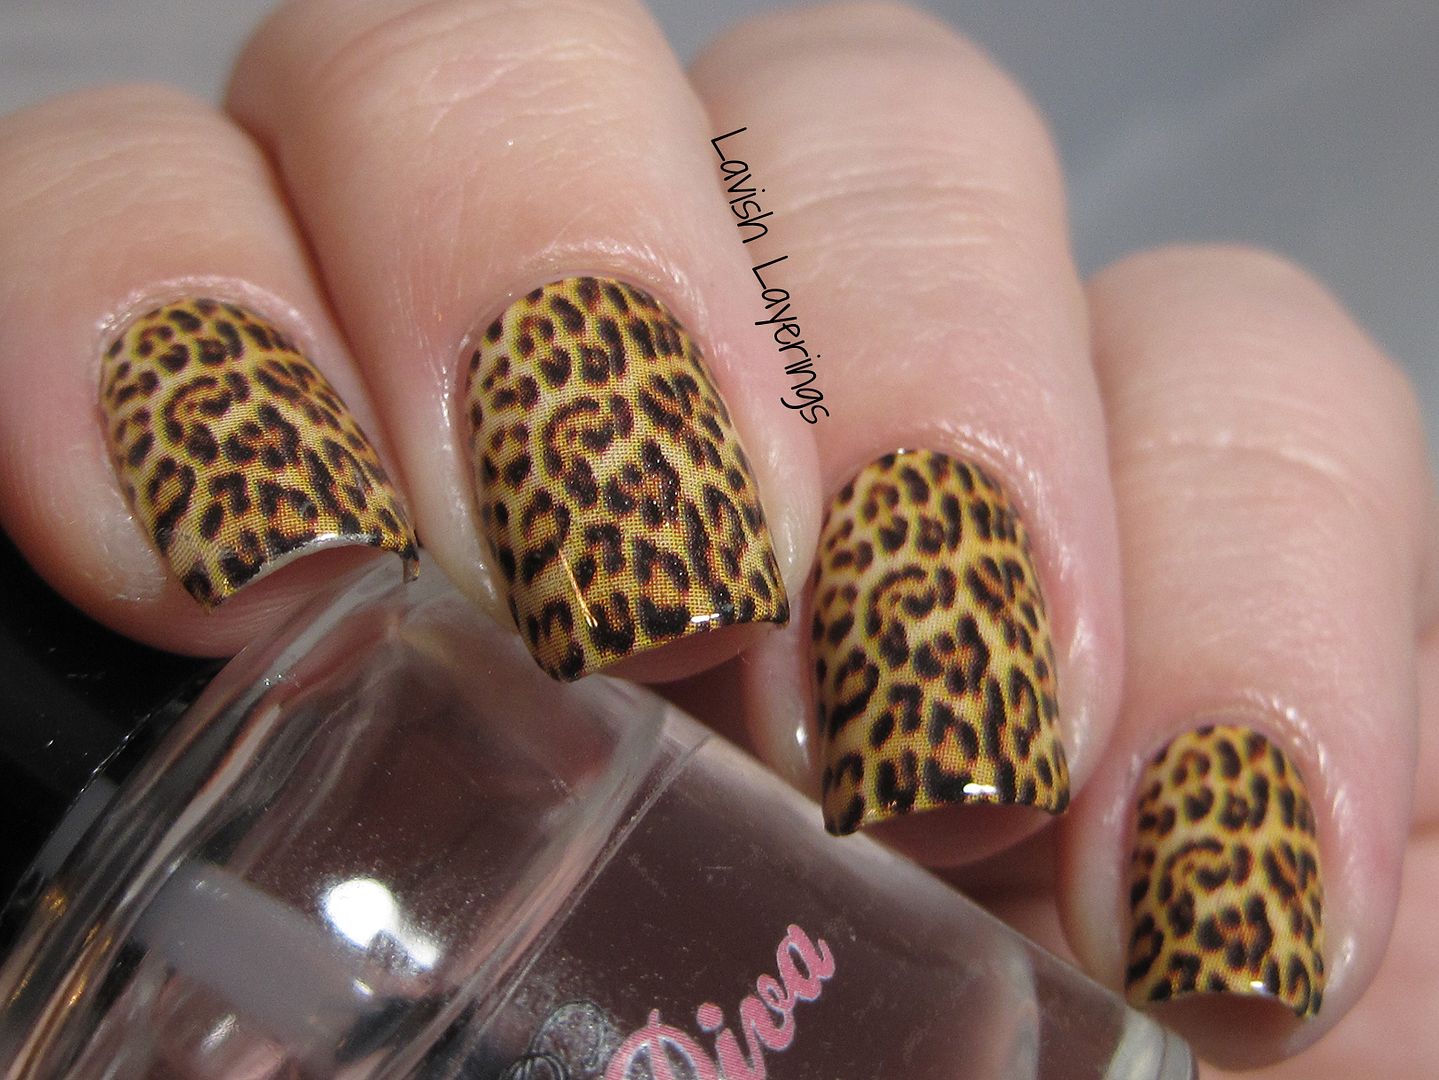
These strips come in a package of 14 varying widths so they will fit a variety of nail sizes (and even toes). I found that they fit my nails pretty perfectly without having to do much manipulation, but I do have wider nails. My pal Novi at Colors Frenzy recently reviewed them and she has nails on the narrower side and had to trim them down a little on the sides to fit her nails properly. I would much rather have to cut them a little than them not be wide enough and leave gaps at the edges of my nails, which is something I've experienced before. Those times I've had to wear a base color to compensate for the gaps, and that just adds an extra step to something that is supposed to be easier than polishing!
Steps for Application
1) "Size-up" the strips against your nails and determine the appropriate sized strip for each nail
2) Wipe down nail with alcohol or acetone to remove any oily residue that might be there to help the strips stick well.
3) Peel off the clear plastic from the top of the strip and then peel off the paper backing.
4) Center the strip on your nail and smooth out the strip onto your nail starting from center and working out to eliminate bubbles. Keep smoothing the strip down with your finger to eliminate bubbles if they do occur. The great thing about these strips is that they are sticky, but also easy to peel back up if you make an error with sticking them without tearing!
5) Cut off any excess that is hanging over the tip. These are pretty long to accomodate longer nails, so if you have shorter nails like me you will likely have a good bit.
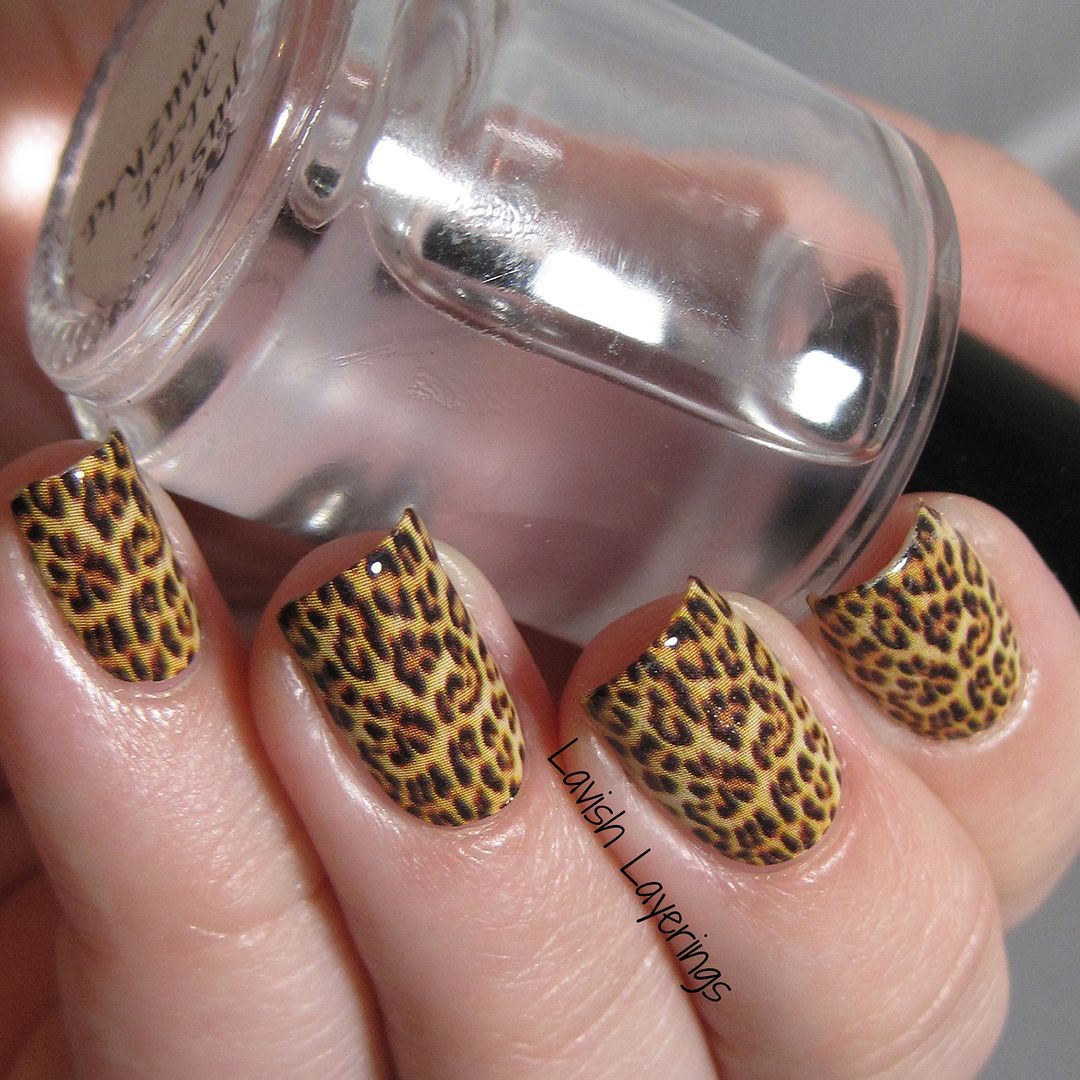
6) Now, the directions state to file the excess off at the ends of your nails to get them even with the nail and that works perfectly BUT, I like to do it slightly differently (so use whichever method you prefer). If you file them off, then you are left with an exposed free edge which I don't care for. You can see in my pics that I did this on the pointer finger and you can see a bit of free edge. Most people don't mind this, but I'm a weirdo and I don't like it!. What I like to do is trim down the strip as close to your free edge as possible. THEN you tuck the edge of the strip under your nail and dab it with pure acetone and your clean up brush. This process will melt away the excess strip and seal the edge of the strip to your nail while covering your free edge. I have used this method before for other types of strips, and it works perfectly with these too.
(excuse the little weirdness on my middle nail, that is bubbles from my topcoat NOT the strip!)7) Seal with topcoat! It's best to not use a quick-dry topcoat I've heard because that can cause some pulling at the edges, but I used NYC Grand Central Station and experienced no issues, and it is pretty fast drying.
OMG Nail Strips retail for $7.99 per pack on their website OR they offer a coupon code on their site where you can get 5 packs for $25 (5pack), which I think is an awesome deal! I might partake in that deal soon actually, because they have a lot of cute designs! Even if you don't want to do a full mani with them, they would be super cute for accent nails to jazz up a plain mani.
What do you think of these? Have you ever tried nail strips? Thanks for looking everyone!


No comments:
Post a Comment